Where Do You Start When Tiling A Bathroom?
If you are faced with renovating your bathroom, you might feel intimidated, especially if you have never tackled a DIY project before. I had the same problem not too long ago. I had just bought a new home, and the bathrooms needed a makeover, but I was new to DIY projects. I did my research because I didn’t know where you start when tiling a bathroom?
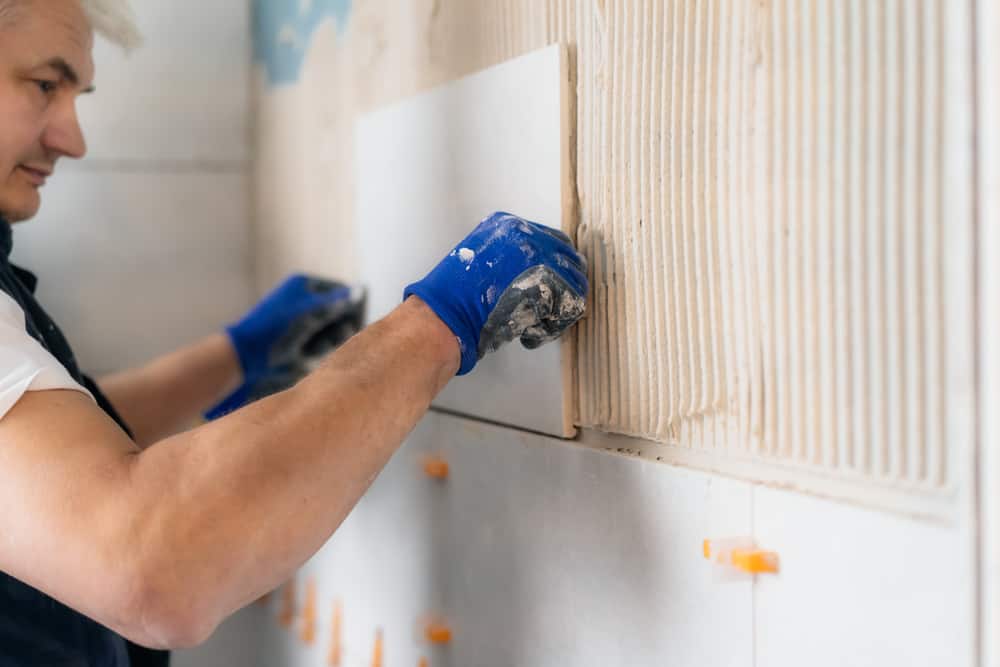
There is quite the debate on where you start tiling your bathroom, some people prefer tiling the floor first, and others suggest that tiling the wall first is the best way to tile a bathroom. But overall, the general consensus is that you should start tiling the bathroom wall.
At that stage of the bathroom renovation, I had no idea where to start and called in the help of a friend who had recently renovated his home. He had a lot of great advice on where to start tiling your bathroom. I thought I would share his advice and what I discovered while researching. In the end, I decided to start with my bathroom wall; here is what I did.
Where Is Best To Start When Tiling A Bathroom?
I needed to plan out how I was going to tile the wall because when tiling the bathroom, it’s not only best to start with the wall but also the middle of the wall.
Why Did I Tile The Bathroom Walls First?
I thought it would be best to tile the bathroom wall first because if you drop something, it will damage the newly laid floor tile. I also started with the wall because if I did tile the floor first, I had to wait longer to ensure that a tile didn’t come loose because of the pressure of my weight on a ladder.
It’s also a falling hazard should a floor tile pop loose because it might not have had enough time to dry and settle. I thought it would be better and safer to put a tarp down on the floor and tile wall first.
Why Did I Start Tiling From The Center Of The Wall?
I picked tiles with patterns, so I knew I had to start in the middle of the wall and work my way to the sides. This way, the patterns would line up from the middle of the wall outward. It is also best to tile from the center of the wall because walls are rarely symmetrical, so when the time came to cut the tiles to size in the corners, I could cover up skew lines with tile trim.
It would look great and hide any imperfect cuts. Patterns usually start in the middle of the room, and it made it easier to plan the tiling around the pattern.
What Can Happen If I Don’t Start At The Correct Point
When I was planning out the tiling of my bathroom, my friend told me to watch out for the following if I didn’t start at the right place.
- If you don’t start tiling the wall from the center, you could waste tiles because you didn’t plan the layout properly and have to cut tiles unnecessarily.
- If you don’t start tiling from the center of the bathroom wall, you could end up with mismatched patterns and lines.
- You want to make the center of the bathroom wall your focal point, so tiling from the side and not the center will mean you might need to cut tiles at the other end of the wall and will lead to uneven tiling in the center.
Factors I Had To Consider When Tiling My Bathroom
When I was tiling my bathroom walls and floor, there were a few factors that I needed to keep in mind to ensure I got an even and flawless result. It will influence where you start to tile and how big the tiling job will be.
Perfect Tiling Is All About Planning
Planning is crucial when tiling a bathroom. You need to think about how high you want to tile your wall; some people only tile half the wall, and others tile the entire wall. You also need to think about what tiles you want to get.
Measuring The Areas That Are Going To Be Tiled
You need to measure out the number of tiles you will need. It is a crucial step as different tiles have different sizes. I did this by measuring the height and width of the wall and then multiplying the two figures to get the total square meters that need tiles.
I did the same with the floors, measuring the space between the walls (width) and the length from one side to the other. I made a quick drawing to show the dimensions of the tiles.
Remember to calculate where there are doors and windows and subtract that from the total, or you will end up with more tiles than you will need.
Picking The Tiles
There are a few things you need to consider when picking your tiles; as I said before, I had to choose the size of the tile, decide if I was going to tile the entire wall, and pick the pattern of the tiles.
My friend told me to buy tiles with the same batch number to ensure they fit perfectly and look flawless. Different batches might look different, and you end up with a wall that looks a little off.
The other consideration I had was picking the right type of tile. The type of tile is entirely a personal preference but keep in mind that not all tiles are created for the same application. For example:
- Ceramic or porcelain tiles are made for bathrooms when they are glazed.
- Terracotta tiles are made for dry areas, especially when they are unglazed.
- Glass tiles are made for feature walls and inside mosaics.
- Slate tiles are made for countertops, floors, and walls.
- Natural Stone tiles are made for bathrooms when a waterproof layer is added.
- Granite tiles are made for floors.
- Travertine tiles are made for floors and walls.
- Limestone tiles are made for flooring.
Always buy at least 15% more tiles, then you will need to cover your wall to ensure if you have a mishap and a tile breaks or one gets cut the wrong size by accident, you will have enough to replace them.
What Needs To Be Done Before Tiling The Bathroom
When you have purchased the tiles you need, you have to do some prep work to ensure the placement of the tiles goes according to plan and achieve a cohesive result.
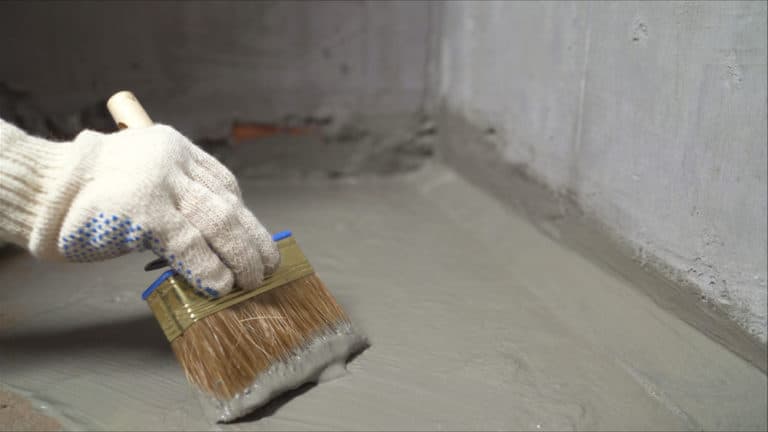
The Cleaning, Patching And Prepping
Before looking at where to start tiling the bathroom, I had to do some prep work. I had to remove the old tiles and grout, cover the dents and clean the wall’s surface. Remember, if you have to plaster over some dents, it may take a few months to completely dry before you can tile, so planning ahead of time is crucial.
Laying Out The Design Before You Start Tiling
The most important part of tiling the bathroom is planning out the design; it’s one of the main reasons I started with the center of the bathroom wall. There are numerous ways to do this, but I will explain the three main ways.
Method 1 Using Two Laser Levels
I prefer this method of measuring where I need to start tiling and planning how many tiles I will be able to fit in a row and how many tiles I will need in total. I started by measuring the height and placing one laser level on the middle point of the height measurement to get the height center of the wall.
I did the same with the width using the second laser level and got the center of the wall. I took a pencil and a spacer, then laid it flat against the wall and traced the shape of the spacer on the middle point of the wall where the laser points crossed. It was the starting point for my first four tiles.
I chose to mark the starting point in this manner because I had to get the pattern design in line before tiling around it.
Method 2 Using A Measuring Tape And Straight Edge
If you don’t have laser levels, you can use a measuring tape and straight edge to find the center of the wall by measuring the height of the wall, dividing the number by 2, and marking the middle of the height with a pencil.
Now you need to do the same with the width of the wall, marking the place where the two markings will cross. To get a perfect line to the center, you use a straight edge. You need to trace the spacer at the center of the wall like I did when I used the first method to get the corners of the first four tiles.
Method 3 Using A Piece Of Wood As A Gauge
You measure the width and height and mark the center where the two cross with a pencil. You then use a piece of 50mm x 25mm x 1.8m wood as a rod gauge to help with your row and end tile size.
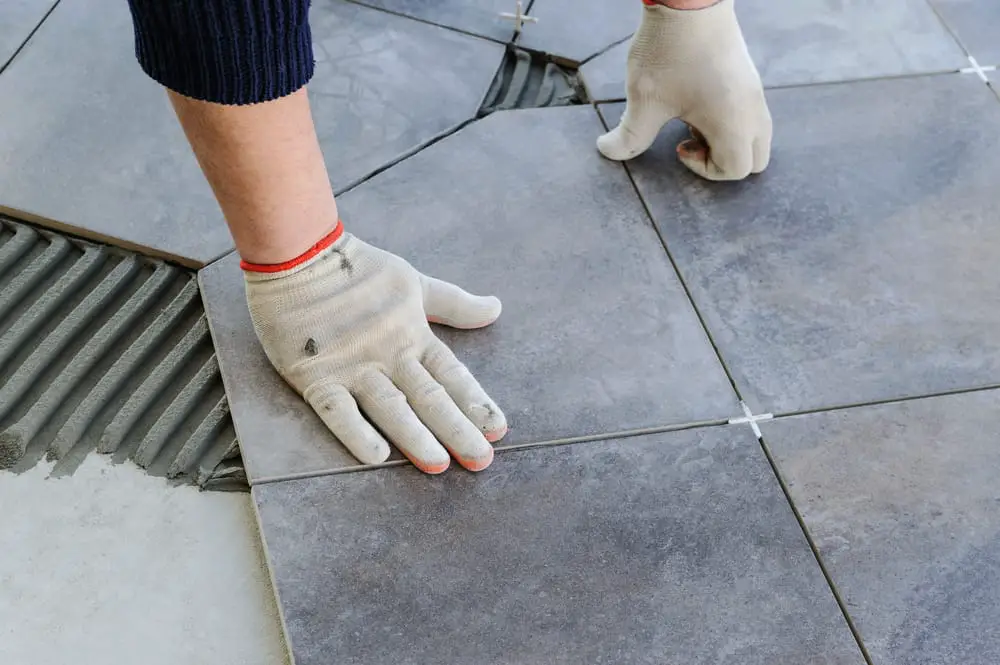
You then lay out a row of tiles with spacers on the floor. Place the gauge rod flush with the row of tiles, mark each tile with a gap on the rod with a pencil, and number it. You hold the rod in line with the center of the wall that you marked off earlier and mark the positions where the tiles would be.
Using the gauge rod and a spirit level, mark the height and width of each row. It will make it easier to see how many rows of tiles you need per row and plan out your design easily. It is a great method to get perfect lines, but it is very time-consuming.
Now I had a great starting point and used these tips to ensure my bathroom tiles came out perfect.
Tips For Getting The Best Bathroom Tile Result
I compiled the list of tips my friend gave me and what I found helped me to start tiling a bathroom:
- Planning ahead made the DIY tile project so much easier. I had enough time to prep the walls, pick the right tile type and ensure the design wasn’t out of alignment before I started tiling the room.
- Make sure you plan out the size of the tiles at the sides; you want to cut as little tile as possible to give you a flawless-looking wall.
- I used laser levels. It made getting straight lines and finding the center of the wall so much easier.
- Using a spacer to get the position of the first four tiles also helped me tile the first two rows perfectly in line with the design of the center four tiles, and the rest was easy.
- When you are done with the first few rows of tiling and the adhesive has started to settle, take out the spacers. If you leave them in for too long, you will have a big problem with grouting.
- If you put too much adhesive and it spills out between the spaces, clean it up right away, or you will have a huge problem once the adhesive has set fully and you need to grout.
- A great tip I found useful was to seal the line where the walls meet with the correct color silicone after the grouting has dried completely. It ensures that no water can get behind the tiles where the walls meet.
- When you are deciding to tile your bathroom and are unsure where to start, going to a tile reseller or home improvement store and getting some advice helps greatly.
- If you find that some tiles vary a little in shade, color, or have small flaws and don’t have a set pattern, disperse the tiles, and then it won’t draw the eye to the flaws.
Conclusion
Taking on your bathroom tiling as a DIY project can be a daunting task. However, it is easier with proper planning, preparations, and easy-to-follow techniques. Remember that the starting point should be the center of the bathroom wall, and it should also be the place where you start the pattern or design of your tiles.