Knockdown Texture VS. Orange Peel
Finishes are usually done near the end of a house’s construction. The finishes bring out the homeowner’s personality as it sets up the mood and feel of your indoor spaces. Some of these finishes can give a texture to your walls and ceilings; the question now is, what’s the difference between them?
Knockdown texture and orange peel use similar materials and follow the same installation process; using drywall mud and a sprayer to apply. Orange peel is a simpler finish and only needs to be sprayed on. Knockdown texture takes more time and effort to install, but has more room for customization and variety.
With finishes such as these, there’s no correct or standard way of doing them. You have the complete freedom to choose how your textures will turn out. It’s good to know your choices and then add your twist to them to make your home personalized for you.
Drywall: What you need to know.
Before we discuss finishes, let’s briefly cover what drywall is. Contrary to the name, drywall isn’t the wall itself but rather the outer portion of it. For example, the drywall would be the sheet covering your studs and joists in a stud wall. Instead of applying finishes to bare concrete, drywall is there to provide a flat and uniform surface for you to work on.
Drywall is often made with gypsum boards. What makes gypsum a popular choice is its durability, ease of use in construction/DIY, and its fire-resistant properties. The great thing about gypsum board is it’s made out of minerals; think of it like paper made out of rocks. This property of gypsum board allows homeowners to apply sorts of paint, adhesives, drywall mud, etc., without worrying about damaging the board.
Drywall and Finishes
Drywall, by itself, isn’t enough to handle finishes. Of course, you want to give a texture or a good feel to your walls or ceiling. Plaster or drywall mud is usually applied evenly across a wall to achieve this. Before you do anything else, you’ll first need to prepare your drywall to handle these finishes(Note: We’re assuming that your drywall is already prepared on the construction end.). It’s important to get this part because your finishes might not be set right, which will waste all of the time and money spent installing them in the first place.
There are only three things that a homeowner needs to do to prepare their drywall for finishes which is:
1. Sanding
Sanding smoothes out the texture of your bare drywall, which makes it much easier and less of a hassle to achieve that uniform application that we’re looking for.
2. Cleaning
Of course, you wouldn’t want any dirt or dust mixing with your finishes and becoming a permanent part of your wall.
3. Priming
Like paint, primer is applied to allow the drywall mud to better stick and set on your drywall. Primer changes the characteristics of drywall’s surface by creating a thin layer that ensures that it finishes uniformly dry. Usually, latex-based or water-based primers are used for DIYers because of their ease of use.
These steps are just the basics of it. You’ll need to use specific materials(Ex. Wallpaper primer vs. Paint primer). For both orange peel and knockdown texture,
Regardless of whatever texture you choose as your wall finish, you’re going to have to go through this step. A great DIY tip is always to have everything you need on hand already. Especially with these finishes, as time is an important factor, waiting too long can result in the drywall mud hardening. Lastly, make sure to know what type of materials you’re working with (Ex. Water-Based vs. Oil-Based)
Now that we’ve gone through drywall and the preparation work for it. We can now go into knockdown texture, orange peel, and comparing the two.
Knockdown Texture
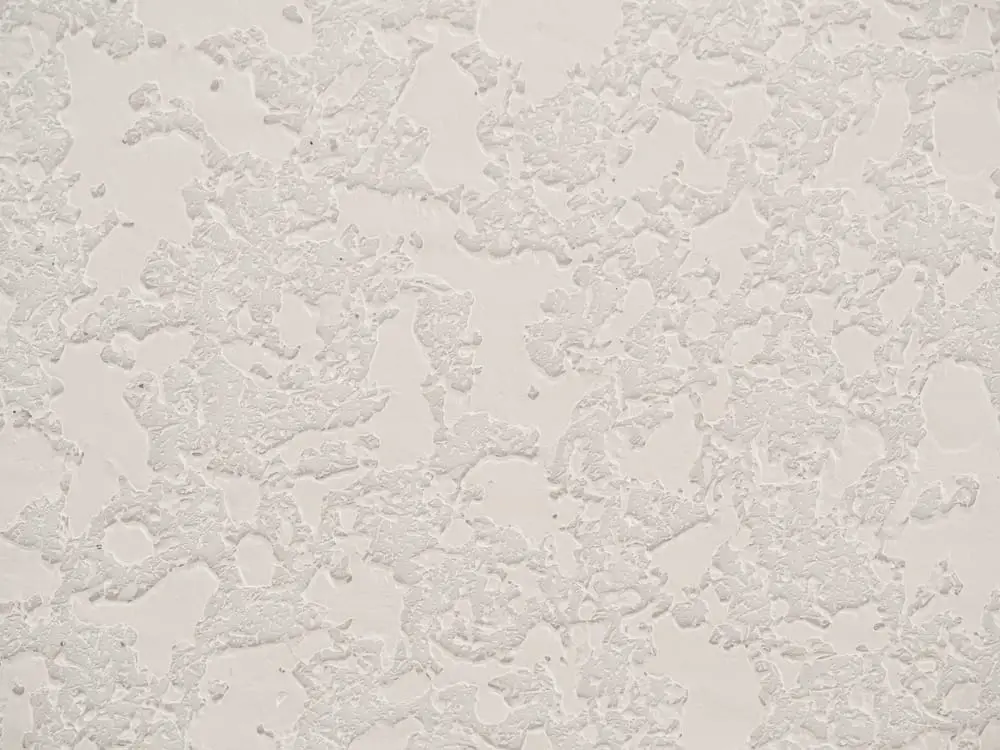
Knockdown texture is applied by applying dry-wall compound(often referred to as mud) with certain techniques or tools to achieve a specific look. The process used to achieve this finish is rolling, spraying, or troweling drywall compounds. What makes knockdown texture special is the dynamic finish to a wall cause of its lack of uniformity and versatile texture that can be mixed and matched. There are three primary techniques when it comes to applying knockdown texture; which are namely Stomp, Trowel, and Splatter. The names of these types of knockdown texture finish are derived from the look achieved when that technique is applied.
Stomp
Stomp involves applying a pre-coat of a dry-wall compound, layering it with another coating, and then stomping down onto the wall until you get your desired look. The texture that you’ll get from this finidependsent on the type of bruat you’ll use to “knock down” the dry-wall compound and make that dent that creates the texture itself.
Here’s a short youtube video that showcases how it’s done:
Splatter
Splatter, as the name implies, involves splattering the drywall mud onto your drywall and then flattening it to even it out and spread it. You can expect the texture from splatter to be a bit more rounded compared to stomp. This one will be harder to control, especially if you’re working on a ceiling compared to the other techniques. Still, the main benefit is its ease of application, which is usually done by spraying the mud onto the wall.
Here’s a short youtube video that showcases how it’s done:
Troweling
Troweling involves using a special trowel that skips and skids across your wall when applying drywall mud. The finish that you get with this technique has a larger texture compared to the other knockdown textures. The skips create round shapes on your wall that resemble paint being splashed onto something. Among the other techniques, this one takes the most time as it requires multiple applications to cover everything in the wall; since you are applying drywall mud with the trowel rather than spraying it/paint rolling it on.
Here’s another youtube video that showcases how it’s done:
What makes knockdown texture a favorite for homeowners is how it can spice up a room and the versatility that it provides as well. With knockdown texture, homeowners are in full control of how they want their finish to look, and it is also quite affordable compared to other finishes(such as wallpaper).
Knockdown Texture: Tips and Maintenance
The quality of the look of your knockdown texture, regardless of the technique, depends on the person’s masonry skills. With that said, expect to put in more effort when going for this look, as it entails attention to detail and getting the right. Another thing to note is that creating drywall texture requires you to work quickly to prevent the drywall mud from getting too dry to work with.
For maintenance of knockdown texture finishes, you’ll need to wipe it around every week or so. Since the texture has all these little dents and creases, dust can accumulate on them. Also, it’s not uncommon for protruded parts of your finish to flake off here and then, so it’s good to have some paint on standby to cover it up when that happens. Lastly, depending on how you do your knockdown texture and where it can scratch your furniture or leave marks if the furniture moves against the wall (ex., Couch against the wall).
Orange Peel: What is it?
Orange peel can be considered a knockdown texture, usually done through splatter, without the knockdown part. As the name implies, the texture that you get on your wall with this finish resembles the skin of an orange.
Installing orange peel on a wall somewhat follows the same process as installing knockdown texture. The main difference with orange peel is that you don’t need to work with a knife or a trowel to spread the finish around; instead., you only need to spray it on and leave it to dry.
To be able to control how your orange peel will turn out will mainly depend on two factors:
1. The thickness of the drywall mud
Generally, the more you mix in water and dilute your drywall mud, the less prominent the bumps will be on your orange texture. Be careful with how much water you’re adding, as the mixture might just end up dropping down the wall instead of sticking to it, even with a primer.
2. Spraying Technique
Generally, you’ll want to coat your drywall with your texture spray gun uniformly. An area with too much drywall mud on it can end up sticking out like a sore thumb, especially if the rest of the wall is uniform. A great technique here is to follow a uniform direction, so if you’re spraying horizontally, you should stick to spraying horizontally.
Here’s a youtube video that showcases how it’s done:
*you can find the orange peel at the 8-minute mark of the video.
What makes orange peel a good choice for homeowners is to add textures to their walls but not in a too loud or eye-catching way. Another great benefit is that it requires a lot less work and care when compared to doing knockdown textures, as you get to skip the “knockdown” part.
When to use what: Orange Peel vs. Knockdown Texture
Now we can start comparing the two finishing types. We’ll be tackling multiple categories and assessing the differences between the two. The best
| Orange Peel vs. Knockdown Texture | ||
| Category | Orange Peel | Knockdown Texture |
| Installation | Orange peel only needs to be sprayed on and left to dry. | Knockdown texture requires special tools to get it right and requires elbow grease, especially for bigger rooms. |
| Customization | Orange peel is confined to just spraying on. The only way to customize its look is to either spray more drywall mud onto your wall or dilute your drywall mud. | All kinds of specialized tools and techniques can be used when knocking down drywall mud onto your wall. |
| Durability | Orange peel can be considered more durable for most cases as there’s not much material to be damaged. | Knockdown texture is more susceptible to breaking since the textures’ area is much larger than orange peel. |
| Aesthetics | Orange peel tends to get a bad rap because the same texture can unintentionally happen when incorrectly painted. | You can’t go wrong with knockdown when you’re in full control of how it will turn out. |
| General Repair | Simply reapply and spray drywall mud onto the area. Just make sure you’re using the same type of nozzle used in the original installation. | You’ll need to eyeball and follow the same technique to ensure that your new knockdown matches the old one. |
| Durability(for the wall) | Both these finishes can provide additional benefits for the durability of your wall, depending on the specifications of the drywall mud that you use. | |
| Maintenance | These finishes create a rough and uneven surface; you can expect that dust or mold will accumulate if left exposed and unmaintained. These finishes are typically used for indoor purposes and not for outdoor/bathroom use. |
Hopefully, this table helps you decide what type of finish you want for your walls and ceilings. There’s no reason as to why you can’t have both( Ex. Knockdown in the living room and orange peel in the bedrooms) as these finishes more or less use the same materials for their installation and application.
Conclusion
It’s all really up to you regarding what texture you’d like to have for your walls and ceilings. A good tip to always keep in mind is envisioning how everything would look together and if your chosen texture compliments the rest of your indoor spaces.
Sources
- https://www.bobvila.com/articles/knockdown-texture/
- https://home.howstuffworks.com/home-improvement/home-diy/projects/drywall.htm
- https://www.bobvila.com/articles/wall-texture-types/
- https://drywall101.com/articles/texturegroups/orangepeel.php
- https://www.thespruce.com/how-to-repair-orange-peel-texture-4153933
- https://modernize.com/homeowner-resources/other/creating-orange-peel-textured-wall
- https://www.familyhandyman.com/project/tips-for-finishing-drywall/