
Do All Decks Need Beams?
Your exterior deck can be a cornerstone for your home. It is a great place to spend time during the summer, allowing you to be outdoors. Many of us use our decks for social gatherings. But if you’re adding a deck to your home, do you need to install beams?
If you’re considering building a deck or making extensions to an existing one, you must use beams. The only exception to this rule is when “internal beams” support ground-level decks. You should also check your local building codes for a more specific understanding of the requirements.
So, you may be planning on building a tiny deck, and, as we know, this can be an expensive affair.
Naturally, you may be inclined to take a few shortcuts to save money, but to do so with your deck can be incredibly dangerous because building without beams could compromise its structural integrity, and, worse yet, it could compromise the structural integrity of your entire house.
Does Your Deck Need Beams?
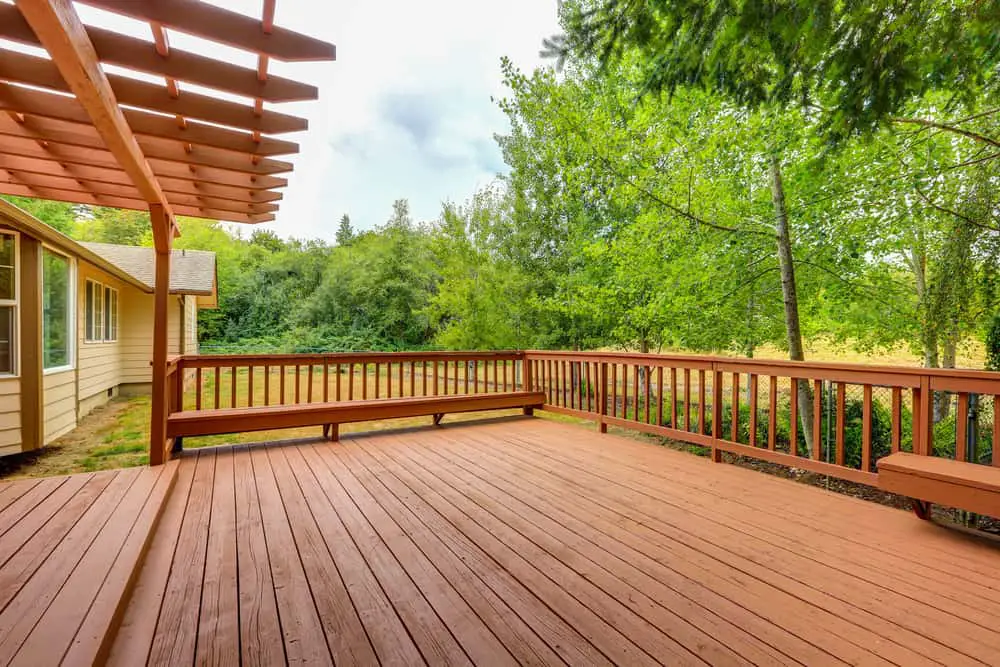
Yes, if you are building a deck above ground level, you need beams! Of course, it is possible to build a deck without beams, and, in some states, building codes aren’t very strictly enforced or different from place to place, but the building codes exist for a reason.
Using beams on above-ground decks makes it possible for them to support hundreds or even thousands of pounds of weight, whether it’s from the wood that makes up the ledger, the furniture placed on the deck itself, and, most importantly, the people using the deck.
You could severely damage your furniture or even the exterior walls of your home if the deck were to collapse, which would cost you a lot more than what it costs to install a beam or, far worse, you could cause any person that may fall through your deck serious injury.
There is one exception to this rule, however. You can use a method of building with “internal beams” for ground-level decks that don’t have room for a separate beam. You can also do this with free-standing decks less than 5’ above ground, where there will be no risk of damage to the house.
However, you should always consult with a professional if you want to have a comprehensive understanding of what is and is not feasible for your deck in terms of structural integrity and local building codes.
Post & Beam Deck Types
So, if you have to use a beam, what is the best way to put your post and beam together? Your deck needs to be able to handle the forces of vertical and lateral loads, exposure to the elements (rain, snow, sunshine), and stand the test of time. To achieve this, there are three post and beam setups that you can use:
1. Through-Post
The first type of post and beam is a through-post construction which is a deck that uses support posts that run straight up from the deck’s footing until the rail posts, which intersect by the deck itself.
This is a terrible way to construct a deck because rail posts are generally built with 4x4s. They are strong enough for rails, but a footing that runs between four and eight feet will require far more strength than a simple rail post. It is far too small to provide primary deck support and lacks the lateral strength required.
It should be able to support a vertical load of up to 2,000lbs and enough to withstand horizontal forces such as heavy winds and people moving around. Rather, these posts need to be at least 4x6s to support a low-standing (less than 5’ above ground) and 6x6s for anything above 6’ in height.
Another problem with the through-post is how the joists are connected to the girder. The builder can either connect the girder to the side of the 4×4 post, or they can notch all or part of it to the post. Neither method is strong enough to withstand a decent load and immediately fall apart.
2. Girder
The deck frame uses separate rail and footing posts in a girder construction. It allows the main supports to be more robust (4x6s and 6x6s) columns that are spaced out and hold up the girder providing support at various potential points of failure.
Steel joist hangers can then fasten the joist to the girder, which transfers the load from the joists (and the ledger above them) to the columns.
The columns are large enough to withstand a heavy lateral load and accommodate three-inch notches, adequately supporting a large vertical load.
3. Post and Beam
The post and beam layout is even more structurally sound than the girder layout. It is straightforward. All you need to do is add a double beam under the joists that will support them directly.
This eliminates the requirement for the steel joist hangers used in the girder post and beam layout. Joists on top of beams are inherently strong and will not shift easily – although they will still be screwed in.
Columns can also intercept between the beams and joists at any part of the deck, allowing even more support at any part of the deck. This means if there is an especially vulnerable part of your deck (perhaps where you will have a grill or pizza oven or big piece of furniture, you can add an extra column to support the additional weight.
Because it’s not located at the edge of the deck, the beam allows you to build larger decks as well.
How To Install Deck Beams
So, now that you understand why deck beams are necessary, let’s go through the steps that you need to take to build and install your deck beams:
Tools required: Materials:
Cordless drill, 2x Lumber/beam stock,
Circular saw, Bracing lumber,
Framing hammer, Beam framing hardware,
Caulk gun, Caulk,
Tape measure Deck screws
Installing a Beam In 5 Steps
1) Cut to length
Start by measuring your beam, ensuring that the crowns are side by side. Double-check the measurements to make sure they fit the layout you’ve designed for yourself. Clamp them together to ensure that the edges are flush.
Then assemble on a firm work surface and cut them to the right length, driving three fasteners into the beams for every 12”.
2) Center beam
Install your column connectors or steel joint hangers to the footing/columns and rotate them until they’re all facing the right direction. Bring your beam to the connectors, lower it to the correct position, center the beam, and ensure it lines up correctly.
3) Stake & Plumb
Stake a 1×4 brace into the ground and get assistance holding a 2’ level to maintain a 45º angle. Then, you can plumb the face of the beam with a toenailed screw. This is a suitable alternative for steel joist hangers and maintains the stability and structural integrity of the beam.
4) Add braces
After the stake and plumb, you can add another staked brace on the other side to secure the beam along its length.
5) Secure beam
Finally, once the beam has been braced along its length, you can use screws or nails to secure it to its post-beam connectors. We recommend screws rather than nails to ensutre that the beam remains in alignment.
Conclusion
So, if you’re considering building a deck at home, there’s no way of getting around the fact that all decks need beams – even if building codes aren’t very strictly enforced. Failing to do so can seriously damage your home and injure the people using it.
So, follow our easy steps to make sure that you build a structurally sound deck that will last years and will never be a safety hazard.