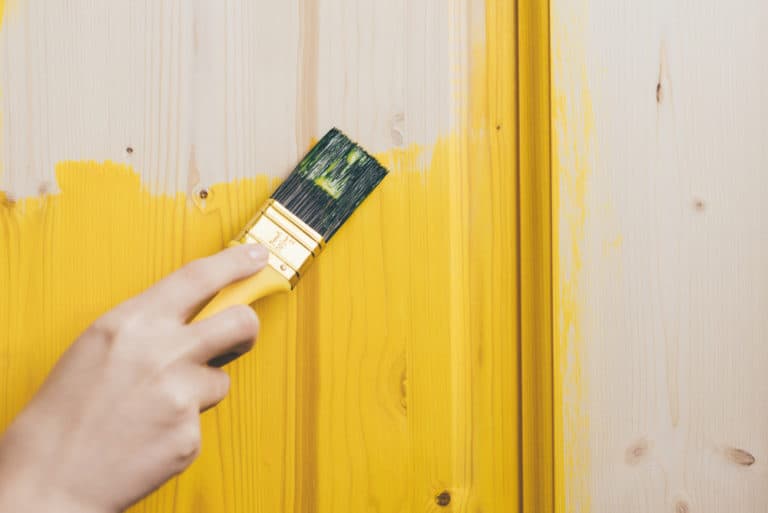
What Is The Easiest Way To Paint A Ceiling?
Painting a ceiling is one of the easiest ways to give any room a new look. Other than a stairwell, interior ceilings are the most challenging to paint. It can get untidy and be taxing on your body to paint ceilings. There is a lot of preparation required to finish the task. However, it does not have to be complicated. So, what is the easiest way to paint your ceiling and make it look good?
An easy way to paint a ceiling is to prepare your supplies and tools first. Remove any ceiling obstructions and furniture or cover furniture that cannot be removed. Then, clean and sand the ceiling, apply the painter’s tape, apply primer and wait for it to dry. Lastly, apply paint and a second coat.
As a homeowner, you may be looking to paint your ceiling. One of the most essential skill sets for any DIY painter is how to paint the ceiling, do it right, and make it look amazing without too much of a hassle or bodily harm.
Here Is The Easiest Way To Paint Your Ceiling
Typically, many people dread painting their ceilings. This is because it can be a messy affair. However, here is how you can make the whole painting process easy and a breeze so you’re done in no time.
Assemble The Supplies And Tools That You Will Need
Choose a complete DIY painting kit, such as Berger’s Painting Kit. This is an excellent self-painting kit that you can paint your ceiling with. The kit is simple and may be used to paint your ceilings with any water-based emulsion. All the supplies and tools that you could possibly need are provided. How much easier does it get than having everything you need available for you to use in one go?
However, if you cannot get this painting kit, try to use a similar one available in your area. Fear not if there isn’t one. Here is a list of the tools that you will need to paint a ceiling:
- Step ladder
- Putty knife
- Paint trays
- Paint brushes
- Drop cloths
- Paint edgers
- Paint roller extension poles
- Screwdriver set
- Paint roller frames
- Paint roller covers
- Spackle
- Ceiling paint
- Primer
- Painters tape
- Protective glasses
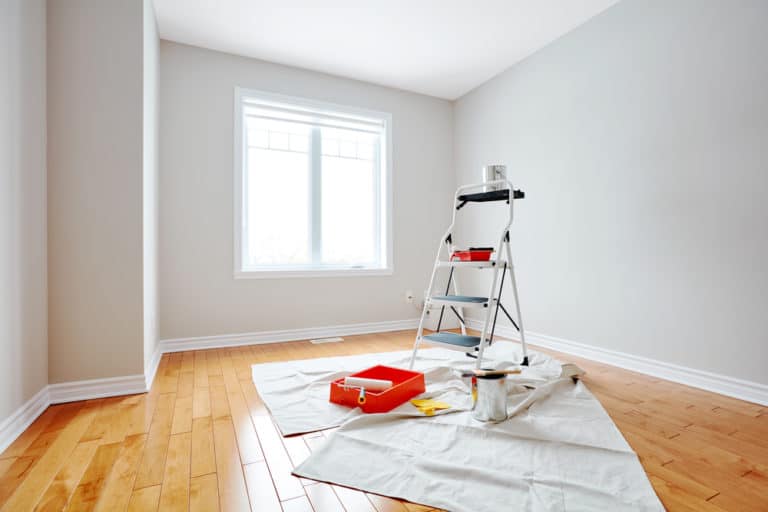
Ensure That You Remove Any Furniture Placed In The Room
Take out all the furniture that you can. This is the first thing to do to make it easier for you to paint the ceiling. The last thing you want is to be bumping into furniture while moving around to paint your ceiling.
If some furniture is fixed to the floor, like a table, wrap the remaining items with paper, plastic, or fabric to prevent paint damage. If necessary, hang plastic sheets on the other wall of the room to shield the surfaces from ceiling paint. This is typically advised if the ceiling is painted after painting the walls.
Additionally, cover the floor with cloths to protect it. Drop cloths are best as they are absorbent, so you don’t have to worry about tracking paint. It’s better to overlap the fabrics so the floor is well and truly covered. You don’t want to have to deal with removing paint from the floor after all the hard work of painting a ceiling.
Ensure that you remove any other obstruction on the ceiling itself. This could be in the form of a light fixture. This is where the step ladder will come in handy and make the process easy. Ensure the power source is turned off before any light fixtures are removed. Put these light fixtures and any other extra parts in a safe area where you can get to them when you need to put them back.
Ensure That You Clean And Sand The Ceiling
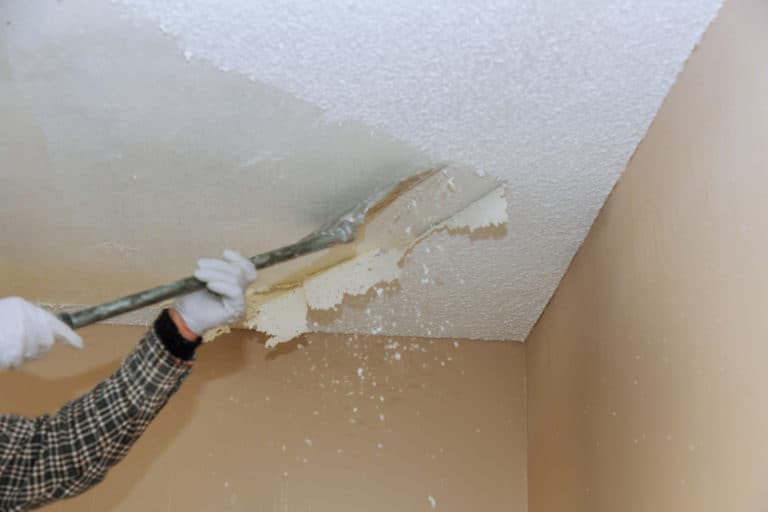
One of the best ways to make painting a ceiling easy for you is to prepare the ceiling. You don’t want to fight to get the paint to stay on the ceiling. Dust must be removed from the ceilings using a damp cloth for primer and paint to adhere to the surface more effectively. Ensure that you also clean any mildew.
To smooth off any rough areas on the ceiling, use sandpaper. However, if the ceiling you are painting isn’t textured, simply do a once-over sand. You’ll want to use 100 grit abrasive paper. Sanding is imperative as it will help create a smooth ceiling for you to paint on.
Additionally, paint adhesion is increased. Since it’s all about getting rid of dust, wipe the ceiling with a damp sponge to get rid of the dust from sanding. Furthermore, if your ceiling has cracks or holes and you’d like to fix them before painting, use spackle and a putty knife to repair them.
It’s Time To Apply The Painters Tape and Primer
Using painter’s tape is the best way to keep your ceiling line straight. The tape should be along the top of the walls, directly on the ceiling seam. Stick the tape over the crown molding if the room has one. You’ll also want to tape around the light fixtures and any other ceiling obstructions. You’ll need to apply tape, and then primer after the ceiling has been cleaned and properly prepped.
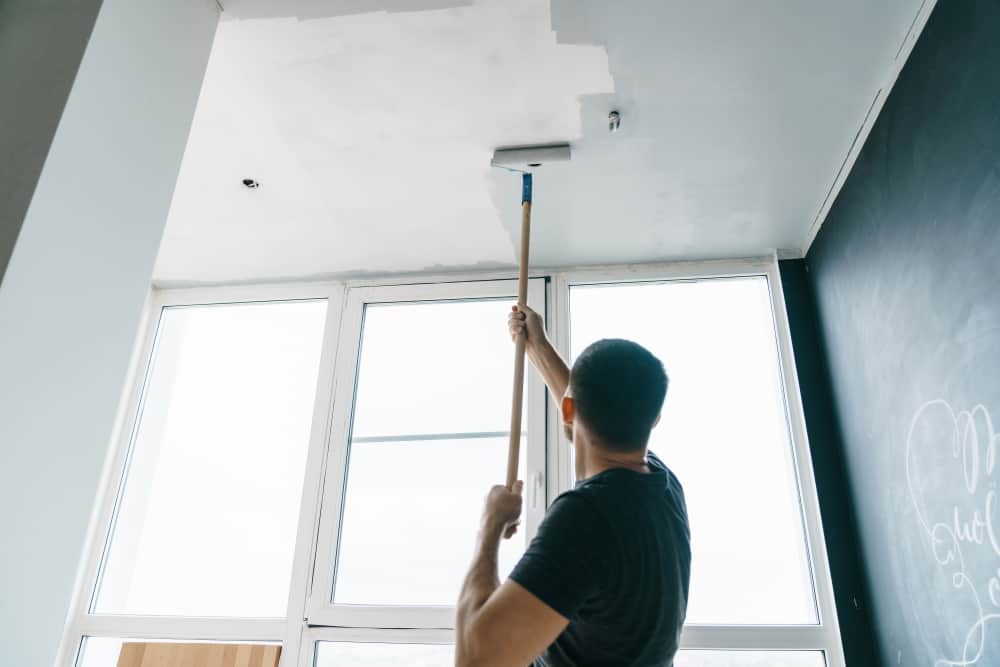
Cut in the ceiling’s edges. After cutting the ceiling’s edges, roll on the primer. Generally, latex primer is typically the best to use on ceilings. Using a paint roller with an extension pole will help create a clean base and make it easier and quicker.
One quick trick is to choose an 18-inch roller, as it will get the job done twice as fast. After this is done, it is simply a waiting game. The primer should then be left to entirely dry. When applying the primer, ensure that you apply it rolling away from the window.
It Is Easier To Cut In Around Ceiling Fixture And Edges
Use the paintbrush to carefully cut in around obstructions like the light fixture and any other protrusions on the ceiling. Paint the edges of the ceiling first. Once the primer is dry, use an angled brush or another edging tool to paint the ceiling’s edges. You cut in the edge of the ceiling where it meets the wall for full coverage of the ceiling. Feather the edge when you cut.
Ensure that you do not cut in upside down with your painting brush, as it will be harder doing it that way as opposed to the other way, which is much easier. It is acceptable to overlap a little amount onto the wall if you intend to paint the walls. Generally speaking, it is possible to cut a more straight line on a wall than a ceiling.
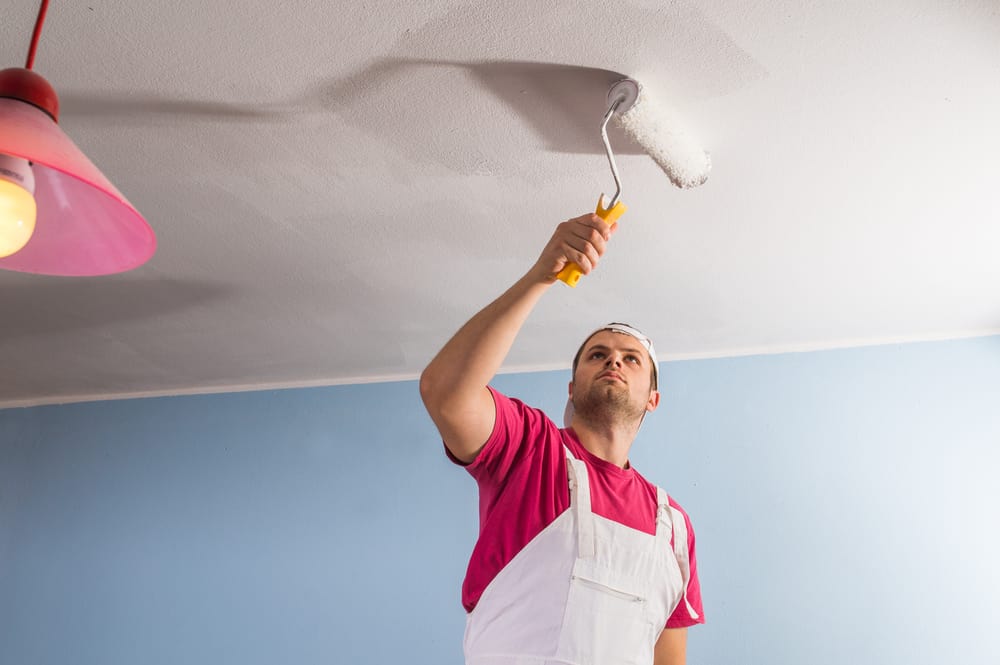
You now start using your extension handle and roller. Different rollers work best for different types of ceilings. A low nap roller will do the trick if you have a smooth ceiling. However, if you have a textured ceiling, use a roller with a half-inch nap even after sanding.
It is simpler to roll on paint if you begin with your back to the window and move across the room. However, an excellent tip is to start in the opposite direction with the first coat. Therefore, instead of starting with your back facing the window and rolling away from the window, start with your side facing the window.
If you want to ensure that you don’t have any artifacts in your paint, place a strainer in a bucket, pour the amount of paint that will fill up the paint tray, and strain the paint. Once you have strained the paint, you can pour it into the tray. If you aren’t fussy about artifacts in the paint, you can simply fill the tray with the paint of your choice.
When painting the ceiling itself, the easiest is to use the paint roller and pole extension to paint in a large square pattern. Simply put, roll the paint out in a grid on the ceiling. First, start at one of the ceiling corners while the cut corner paint line is still wet. This is so you can roll in to overlap any paint brush strokes.
Roll across the ceiling in a 3-foot-by-3-foot grid by loading the roller with paint. The maximum square feet pattern to go for that will still make painting the ceiling easy is 5 feet in length and move across 5 feet until a 5 by 5 square is completed on your ceiling. This way, it will be easier for you to track a tiny area and confidently work your way across the ceiling.
A bit of force is needed to ensure that the paint covers the ceiling well. Watch any ridges that form because of this force. Use a bright light facing the ceiling to spot those ridges. That way, you can immediately smooth them out with a light roll before moving on to a new square pattern. Painting in V or W strokes is a great way to avoid overlap marks.
Keep the roller wet, and make sure to apply a nice, even coat. You can finish in one coat if you are adept at maintaining a wet edge. Wet edge refers to painting from one area to another without allowing the paint to dry in between.
One coat may not be enough if you lose the wet edge. Ensure to trim as you roll to reduce the impact of overlapping. A back roll is essential. To balance the paint and lessen the result of an uneven coating, roll paint on to cover an area that you have already painted before moving back to cover a small portion of the most recent site you painted.
The last thing you want is to use a dry roller. No matter which way you roll, the splatter will land on everything nearby. Therefore, it would be wise to wear protective glasses as paint that gets into your eyes will sting.
How To Paint On A Second Coat
If your ceiling is of a darker color, you definitely need a second coat of paint. However, a second coat is typically a norm to ensure that the paint has been smoothed. To produce a smooth, even application, if you need to apply a second coat, start with your back to the window this time and roll the paint out lengthwise rather than right to left.
Therefore, this second coat of paint will be painted in the same direction as the primer was. The first coat isn’t painted this way because the second coat painted in the opposite direction will cover and smooth out any ridges you may have missed.
This way, you don’t have to go back repeatedly. Furthermore, painting the ceiling with your back facing the window means that the light that comes in will go with the roller strokes. As opposed to showing any possible ridges, it will hide them.
Cleaning Up And Doing Final Touches Is A Breeze
Soap and warm water is your friend when cleaning all the painting equipment you use. Let them dry out, and ensure that any leftover paint is tightly sealed in case you need it for touch-ups. Remove the painter’s tape once the ceiling is dry.
Pull the painter’s tape back on itself, horizontal to the wall, to avoid pulling off the underlying paint. Replace the ceiling fixtures and viola. A freshly newly painted ceiling awaits you.
Conclusion
Although painting a ceiling is never quite enjoyable, unless you’re into that kind of DIY, it does not mean it has to be complicated. The easiest way is to have everything you need ready to use, ensure that you can move around freely, roll on the primer once the ceiling is prepped, and paint in a grid-like pattern while keeping the wet edges in mind.
This way, the process goes smoothly and quickly. Using a long painter’s pole will be easier than trying to do it from a ladder. Furthermore, your chances of it being easy will be much better if you can complete the painting of the ceiling while on the floor.