Does Ceiling Insulation Need a Vapor Barrier?
Ceiling insulation is an essential part of any home that needs to keep the heat in during winter. Hot air rises and often escapes through ceilings. The question now is if you’ll also need to protect your ceiling from moisture caused by insulation.
It is essential to have a vapor barrier installed with your ceiling insulation. It’s not uncommon for moisture and dew to form on a ceiling because of the temperature differences; moisture can cause mold and rot if left unchecked. Continuous damage to your ceiling can end up offsetting the benefits of your insulation and lower its rating.
Read on as we’ll be going into ceiling insulation and vapor barriers.
Ceiling insulation: A brief overview
As we mentioned earlier, ceiling insulation is one of the most critical finishes for your home if you need to keep heat inside. So much so that it’s often cited that ceiling insulation can be one of the biggest money savers from electrical consumption during the weekend.
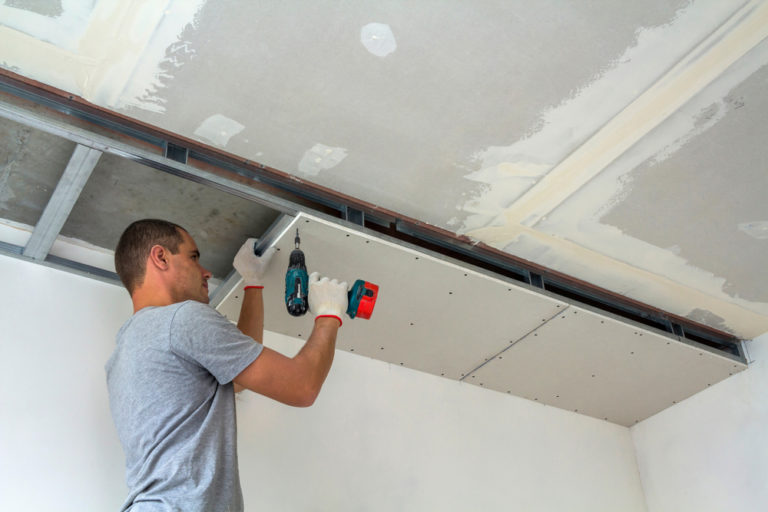
With that said, we first want to familiarize ourselves with what exactly is ceiling insulation. There are many ways to go about insulating a ceiling, so we’ll be going into the most common types and give you a brief description of each one of them.
| Types of ceiling insulation | Description |
| Sheet loft insulation | Can double also as a vapor-retardant. Sheet insulation is usually made out of |
| Fill type insulation | Great for adding some permeability if you need it. |
| Blown-Fibre insulation | Often used for irregularly shaped ceilings. Materials, such as fiberglass fillings, are blown in to fill up space. |
| Blanket type insulation | Often used for covering vast areas. |
The main benefit of ceiling insulation is how much heat it helps retain inside your house during winter. It’s important to make sure that the insulation in this area of your house is in tiptop condition, as it saves the most amount of energy used for heating.
Remember, when it comes to insulation, you have to follow the appropriate rating. Overdoing it isn’t going to provide more benefits, or it no longer becomes worth it as the additional reduction in heat transference becomes negligible.
For ceilings, you’ll want an insulation rating of around R30, R38, and R40.
Vapor Barriers: What are they, and what do they do?
Vapor barriers are usually sheets, often made out of plastic, that decrease the permeability( the characteristic of a material to allow water to pass through) of a material.
They don’t take up a lot of space and can be installed on virtually every part of the house. The main drawback, however, is that you have to be careful with where you put them with vapor barriers. It’s sometimes best to allow water to travel through materials to prevent moisture from building up and damaging them( ex. Stud wall in a bathroom).
It’s recommended that you have vapor barriers installed between the insulation and the rest of the room for ceilings. This is assuming that you live in a place that experiences cold weather and that your house’s interior is warmer than the outside.
Putting together ceiling insulation and a vapor barrier
Now that we’ve glossed over ceiling insulation and vapor barriers. We can now go into how to go about installing them with each other. For this article, we’ll be going into attic insulation since it’s an essential ceiling of your house to insulate.
1. Prepare an air barrier in your attic.
You’re going to want to create an air barrier around your ceiling. An air barrier is simply an assembly of finishes put together to make air move in a particular direction that we want it to.
You may be wondering why we’re mentioning air barriers all of a sudden; it’s important to remember that water vapor moves through the air, and it’s better to have it advance outside of the building as soon as it can rather than just sit in there. We don’t want your vapor barrier to trap in the moisture and prevent it from escaping the house.
We’re assuming that your ceiling is colder than your house. This should be the case if your house is appropriately insulated. Just to let you know, cold air tends to carry less water vapor compared to hot air. When cold air touches a hot surface, that’s when water droplets begin to form.
Once you’ve got your air barriers fixed in such a way that allows the attic to breathe, we can now begin working on putting up vapor barriers.
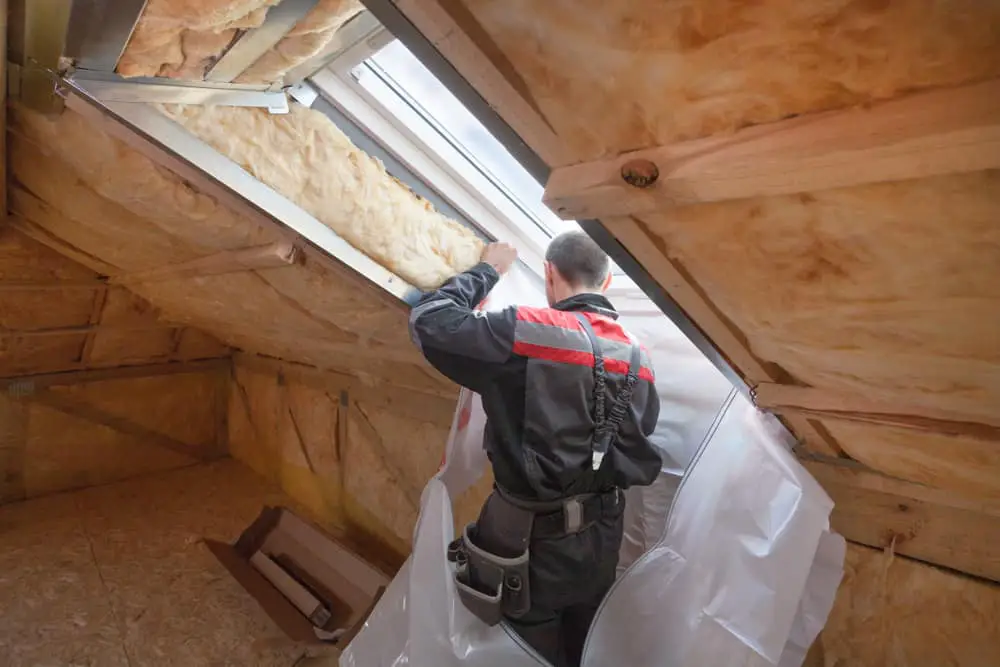
2. Putting the vapor barriers onto your ceiling insulation
Vapor barriers are not very complex when it comes to installing them. It’s practically just covering your ceiling insulation with a plastic sheet. The main thing you should watch out for is ensuring that there are no bare spots/gaps left once you’re done installing; you can caulk those up in case you leave any.
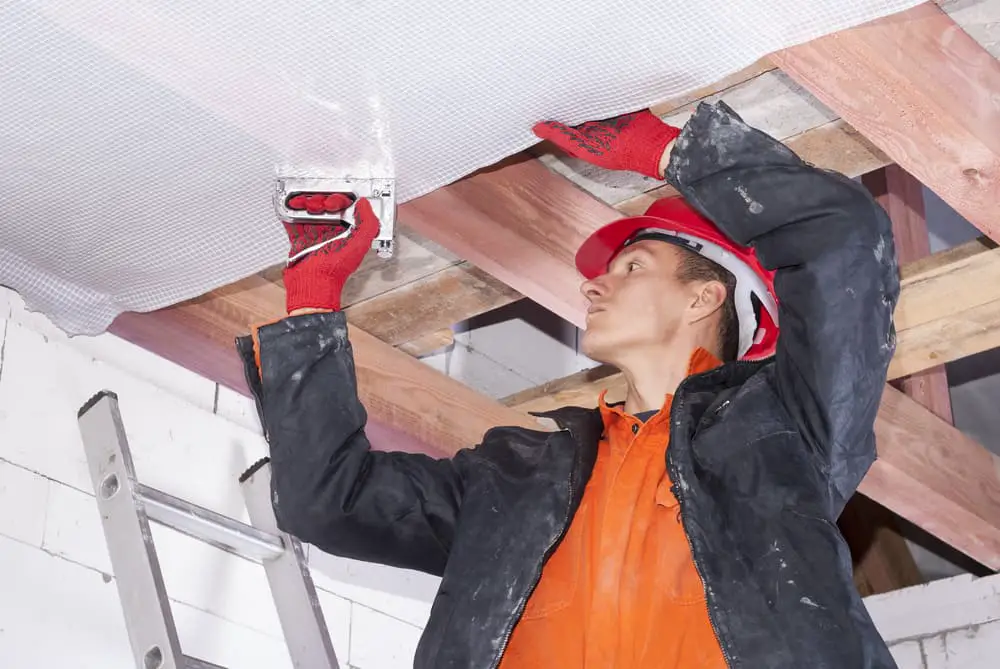
The primary consideration that you’ll need to make is to make sure that everything is covered. Any uncovered spaces on your ceilings can create a wet spot, which is the last thing that you would want on your ceiling.
Besides that, you’ll also need to make sure that there’s no moisture building up behind your insulation. This is why we put your vapor barrier on the interior part of the insulation since this is where cold air and a warmer surface usually meet and forms moisture.
Now that we’ve got our barriers installed and ready to work. Let’s go into the benefits of having these two installed onto your attics.
Benefits of an air barrier
Air barriers may seem like a hassle to have put up in your home, but it’s important to have to ensure that your vapor barrier and insulation can perform well. The main benefits of having an air barrier are the following:
- Improves Air Quality
Stagnant air is not very comfortable. If you think about it, nearly every home has some sort of HVAC installed into it. Air barriers act like vents that allow the air to move within your house.
- Reduces Moisture
Moisture comes from the humidity in the air. Since air barriers allow the air to move in and out, it’s improbable for humid air to be able to condense into water droplets.
- Increased savings
Air barriers increase the performance of your insulation by making sure that they are not enveloped.
As we like to again stress out in this article, putting a vapor barrier on ceiling insulation will only work if you have an air barrier system put up in your attic/room.
Will a vapor retardant work with ceiling insulation?
Yes, your ceiling can also utilize a vapor retardant if you don’t live in a place that experiences cold temperatures for prolonged periods of time. In areas that experience multiple seasons, vapor barriers can be detrimental when moisture forms at the insulation’s exterior side.
It’s good to have some permeability to allow the house to breathe to prevent this from causing too much damage. When a material gets to breathe, it gets to dry out any moisture and will enable it to pass through.
Should I install my ceiling insulation?
The nature of ceiling work is much different compared to installing things like wall insulation or floor insulation. You’re working with a part of your house that’s overhead, so it’s much hard to install and do repairs.
It’s recommended that you get some help from a handyman or someone who works in construction. It may cost a bit more, but the convenience and quality assurance are well worth the price; we want to maximize the value that your insulation provides.
Conclusion
Having a vapor barrier with your ceiling insulation is vital if you live in areas that experience cold temperatures. In conjunction, it’s suggested that you also have an air barrier set up to keep the air moving in your attics and prevent it from getting stagnant, which increases the chances of water vapors condensing into droplets.
Sources
https://www.jlconline.com/how-to/insulation/q-a-ceiling-vapor-barrier-yes-or-no_o
https://www.energy.gov/energysaver/weatherize/insulation/insulation-materials
https://insulationinstitute.org/im-a-homeowner/installation/doing-it-yourself/attics-and-ceilings/
https://www.buildingenclosureonline.com/articles/88372-the-importance-of-air-barrier