Is It OK To Drywall Over A Popcorn Ceiling?
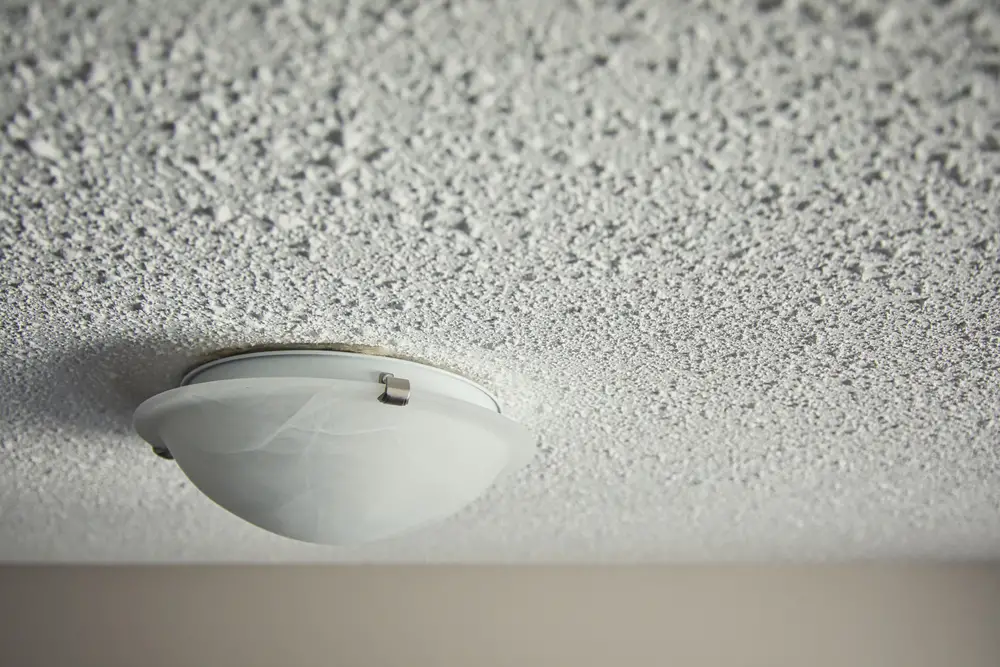
Popcorn, splattered plaster of Paris, was a popular finish for ceilings in the 70s. Today, they can look a bit dated, and the one you have in your home probably isn’t in the best condition either. The question is whether homeowners can cover up their popcorn ceilings for a newer finish.
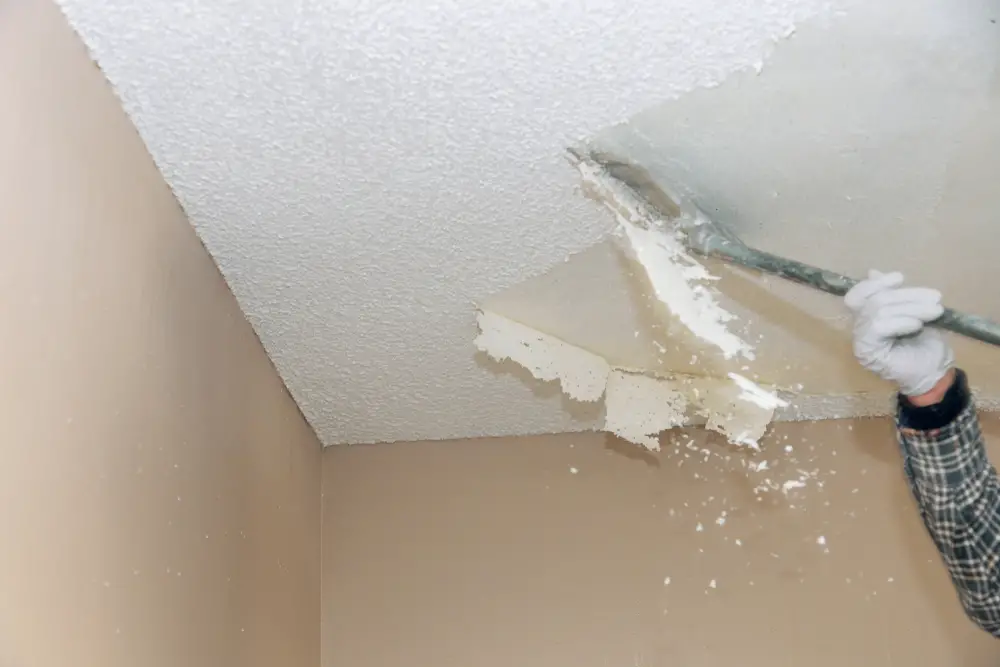
It is perfectly fine to cover a popcorn ceiling with some drywall. Luckily, covering up with drywall is the same as installing a new drywall ceiling with only a few caveats. Homeowners tend to cover up popcorn ceilings rather than remove them for affordability and convenience.
The difficulty of covering with drywall is working with the large panels you have to use and special tools you will need to purchase. Aside from that, you also need to ensure that there’s nothing essential covered by your ceiling that can be potentially damaged.
Is it OK to drywall over popcorn ceiling?
The main challenge in this type of project isn’t covering your popcorn ceiling with drywall but rather making sure that you have a proper ceiling for your spaces. More often than not, when replacing something such as a ceiling, we might as well improve upon what we already have.
The main objective that you should have for this type of project is not to just cover up your popcorn ceiling, but instead to build a proper ceiling for your rooms. Rather than just replacing your ceiling, we might aswell improve up on it aswell to get the most bang for our buck.
Firstly, functionalities such as utilities, fixtures, and insulation should be planned before anything else. It helps a great deal when you know precisely your ceiling should have so that it also harmonizes with what’s currently inside the room.
The great thing about drywall is how it’s relatively easy to work with in this aspect. The workability of the materials gives us leeway with finishes since most of them are compatible with drywall. Again, you also need to consider the context of ceiling; if popcorn somewhat matches your room, then so should the look of your new drywall ceiling.
How does drywall cover popcorn ceiling?
With any construction project, it’s best to know what to expect to plan accordingly. It helps a lot to have the necessary tools and to have the space required to work in, so you’ll be prepared to execute this project in one go.
- Know your ceiling
Before doing any work, we first need to take inventory and determine the composition of your current ceiling. It’s essential to know the wiring that’s currently present, the insulation and lights are presently installed, etc.
As mentioned earlier, we also need to consider the current composition of the room. We have to look at a room as one complete package, so look out for any present trim, existing finishes being used, types of materials being used, and lastly, the assigned function of that room to help us better design our ceiling.
Ideally, you should have the plans of your house readily available to see how your ceiling was built. Plans usually contain a detailed section drawing indicating the different parts of your ceiling as well as its method of construction. Alternatively, you can opt to use a stud finder instead and draw out the locations of the joists holding up your ceiling.
- Plan out your ceiling
H, you can you better sequence and execute the project. In theiice, architects use a reflect ceiling to be able to allocate fixtures relative to the space directly below it. For example, a patio will have its dedicated light, so likewise in your room, certain areas will also need dedicated fixtures.
Lastly, we need to have dimensions as well. The measurements of your ceiling can be used to calculate the costs and the amount of materials that you will be operating through square footage. A general rule of thumb is to always have a bit extra when you buy materials to give you a bit of leeway in case anything goes wrong during installation.
- Prepare your fixtures
You’ll need to remove any current fixtures before you begin covering with drywall, which is why we took inventory in the first step. Any wires in your ceiling should be moved or disconnected as well as any other applicable fixtures such as lights, fire sprinklers, etc.
Don’t forget to consider the thickness of the drywall you intend on using since we’ll be reinstalling these fixtures later in the process. You should have a general idea of how thick your ceiling is so that you can appropriately fasten back your fixtures with a snug fit.
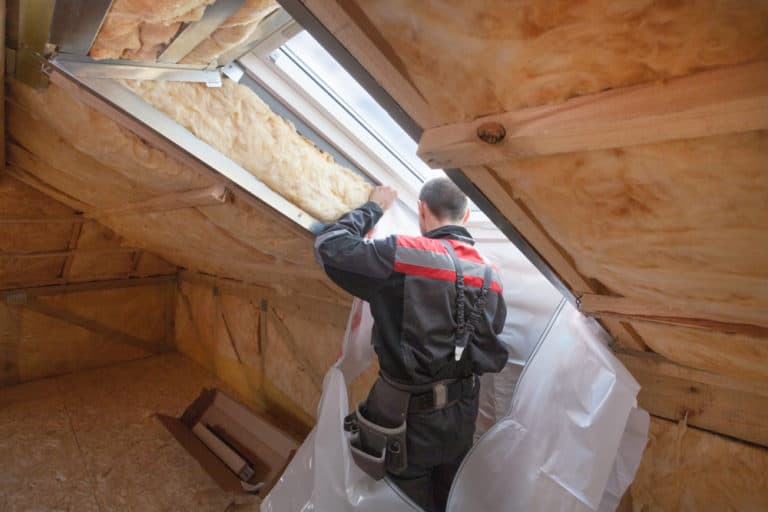
- Insulation
If you live in a colder area, we need to take an extra step to ensure that your insulation is on point. Ceiling batts with an R-30, R-38, or R-40 are the recommended type of insulation you can use.
Remember, when it comes to insulation, we must seal in the heat. You have to ensure that there are no gaps or areas left open for air to escape through.
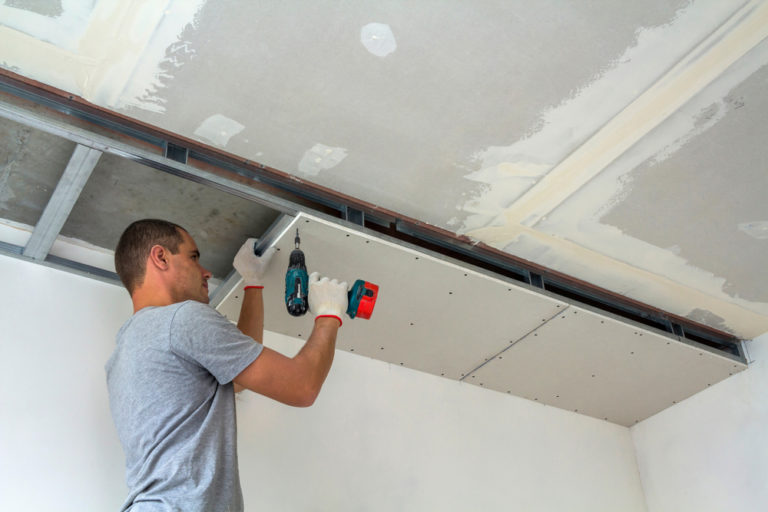
- Installing the drywall
Once we have your fixtures and insulation in check and prepared, you can now cover your popcorn ceiling with drywall. Make sure your drywall is already cut to size, based on the ceiling dimensions taken earlier, to streamline the work.
You want your fasteners(nails, screws, etc.) to penetrate the entire thickness of your ceiling so that it can comfortably latch onto your studs. A good rule of thumb for drywall ceilings is to fasten them to your joists in increments of 7-12 inches around the entire perimeter of that drywall.
Once all drywall has been cut, you can begin cutting out holes for fixtures to run through. Do not install any fixtures yet, as we first need to finish your drywall and allow it to set.
Installing drywall over a popcorn ceiling will take some time to execute well. Most homeowners face the main difficulty managing the utilities and insulation rather than the drywall itself.
For installing drywall ceilings, you will need some additional help or rent-out support to hold them in place during installation.
Finishes For A Drywall Ceiling
Since you plan on having a drywall ceiling, it’s also best to know your options when it comes to how they’ll end up looking. Here’s a short list of the different types of finishes commonly used for drywall ceilings:
Textures
- Smooth
A smooth ceiling is one of the most expensive types of ceilings because of the intensive labor needed to ensure that everything is level. This type of ceiling is the most preferred by most homeowners because of how neat and uniform it looks.
- Orange Peel/Knockdown
Orange peel, as the name implies, gives your ceiling the same texture as an orange skin. This is done through spraying the wall with drywall mud with a specific nozzle to achieve that orange skin consistency.
Knockdown is achieved by using a trowel to spread drywall mud across the ceiling, allowing you to customize the texture of ceiling. The only caveat to this finish is that it will take up quite a lot of time and elbow grease to get it right.
- Bare
If your drywall ceiling is built well or in a specific way then it is possible to leave it as is for a finish. This is typically done through carefully cutting your drywall into a specific uniform shape.
Finish
- Material
Using other materials as finish (ex. Vinyl boards) is a good option if you want to bring out your ceiling a bit more. It’s quite common to use different materials on the same ceiling as finish to indicate different parts of a room or just to make it look more interesting.
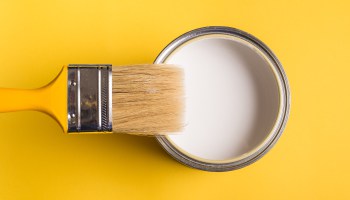
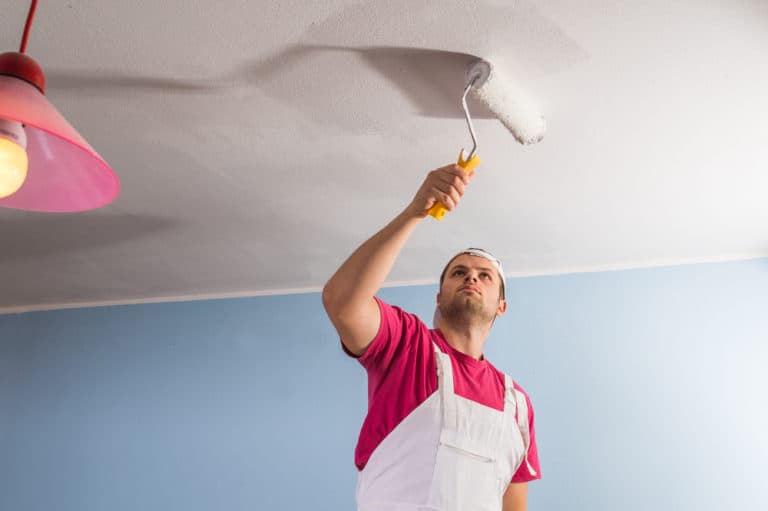
- Paint
Ceiling paint is specifically made to be applied to them. Their viscosity and how the color turns out blends in with how ceilings are typically looked.
These are only the general finishes for a ceiling, there are many other options that you can explore depending on what you want. Don’t forget that to finish drywall properly, you first need to have a primer applied so that the finishes are able to stick onto it and set in properly with the material.
Safety Concerns for a popcorn ceiling
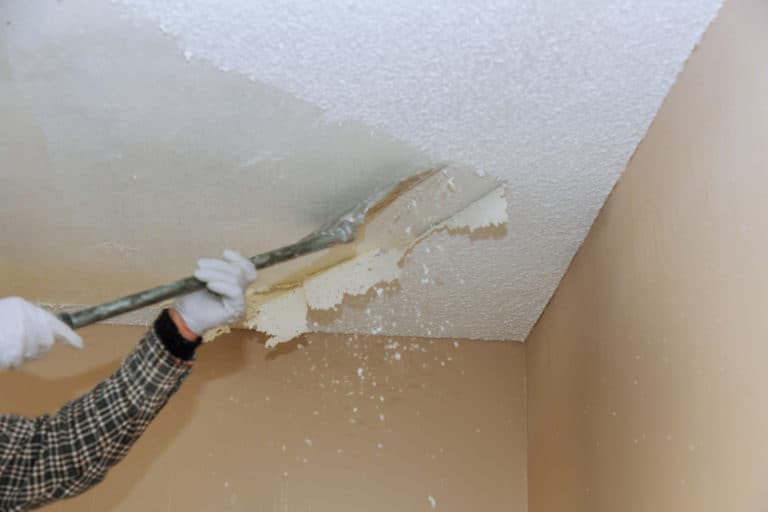
There’s a reason why it’s more popular to cover a popcorn ceiling rather than to have it removed. Aside from the expenses of getting this type of job done, popcorn ceilings can potentially become hazardous when installed.
For a quick rundown, back then plaster was mixed with asbestos. Asbestos helped give plaster a better insulation rating aswell as provided an additional fire-resistance rating. This was a common practice in the building industry till around the late 1980s, until they discovered that asbestos was harmful to building occupants.
Typically, asbestos is not harmful to people if left dormant, however, safety issues start to arise when the asbestos gets into the air. The toxicity of asbestos can potentially health issues, if left exposed for too long.
If you’re worried that you might have an popcorn ceiling with asbestos, it’s best to have a safety inspector do an evaluation of the material. In most cases, homes should have been checked already by this time since asbestos has been removed in plaster for 30 years now.
Cost of removing a popcorn ceiling
What day is talks about covering a popcorn ceiling we also need to consider another option which is removing the popcorn ceiling and tired person foremost . If you plan on selling your , this this may be an opthat you might want to consider.
For certain homeowners, it might be a more practical option to have their popcorn ceiling removed. Reasons can either be related to safety, especially for older houses, or if you plan on selling your home sometime soon.
On average, it costs around 2000 dollars to have a popcorn ceiling removed. This number will vary depending on the square footage and number of rooms that need to have their ceilings renovated. As mentioned earlier, asbestos is quite dangerous to inhale so the high price includes the special equipment needed to be worn by workers to prevent exposure.
An additional cost would also be replacing the popcorn ceiling, which is practically the same thing as covering your popcorn ceiling in the first place, which costs 3 to 5 dollars per square foot. We can see now why most homeowners would rather cover up their old ceiling rather than go through the hassle of having it removed.
Alternative Covers For a Popcorn Ceiling
Aside from drywall, there are other alternatives that homeowners can choose from. Here are few other options that you can choose from:
- Wooden Panels
Wood panels are a great inexpensive option if you’re looking for homey finish. Typically varnished wooden boards are used with wooden trim surrounding the perimeter of your ceiling.
- Vinyl
Vinyl is great for replicating other materials and textures without having to deal with whatever maintenance needs that material may have (Ex. Wood/Concrete). Vinyl is durable as a material since it is immune to rust or rot.
- Plaster
If you’re using modern plaster, you can use it to fill in the gaps of a popcorn ceiling to create a uniform finish for your ceiling.
- Metal
Galvanized Iron and Aluminum can also be used as ceiling finishes. The only problem metal is that it can be quite difficult to work with as a DIY considering all the metal works needed to fit into a ceiling.
- Glass
Glass is uncommon but can also work as a ceiling material. A glass ceiling often used in certain parts of a room ( Ex. over a dining table) to better highlight the area by reflecting light.
These are the different alternatives to drywall ceilings that you can opt for. Do take note that most of these options will probably be just as expensive if not more than drywall.
Conclusion
It is perfectly fine to cover up a popcorn ceiling with drywall. The main concern with this type of project is making sure that you build your new ceiling well by taking into account the different parts that come with.