Do Bathroom Walls Need To Be Waterproofed?
I recently had to renovate my bathroom, and I wanted to get the best look possible that would last long as bathrooms are the wettest room in the home. I had no idea what kind of tiles or paint I needed to use, but my main concern was whether the bathroom walls needed to be waterproofed.
Generally, contractors will waterproof a bathroom while it’s being built. Most experts agree that bathroom walls need to be waterproofed 150mm, and shower walls must be waterproofed to at least 1800mm. If you want to waterproof your bathroom, it’s best to hire a professional to ensure it’s done correctly.
When you are unsure if your bathroom is waterproofed or have to check all aspects of your bathroom, you should check your waterproof membrane. If you battle to see if your bathroom waterproofing needs to be updated or if your bathroom needs to be waterproofed, you should keep on reading.
Do Bathroom Walls Need To Be Waterproofed?
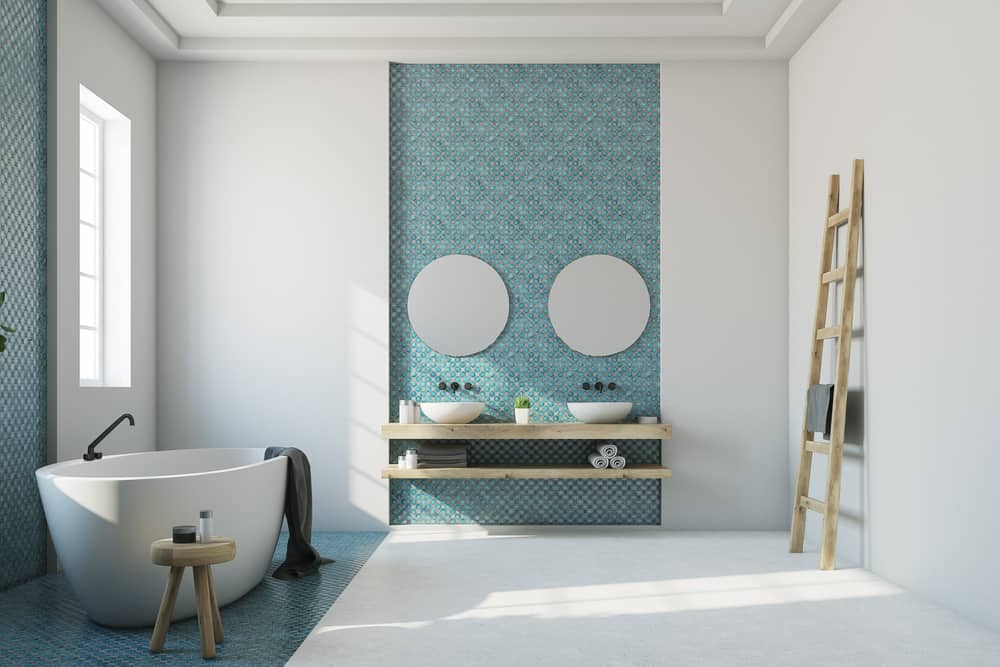
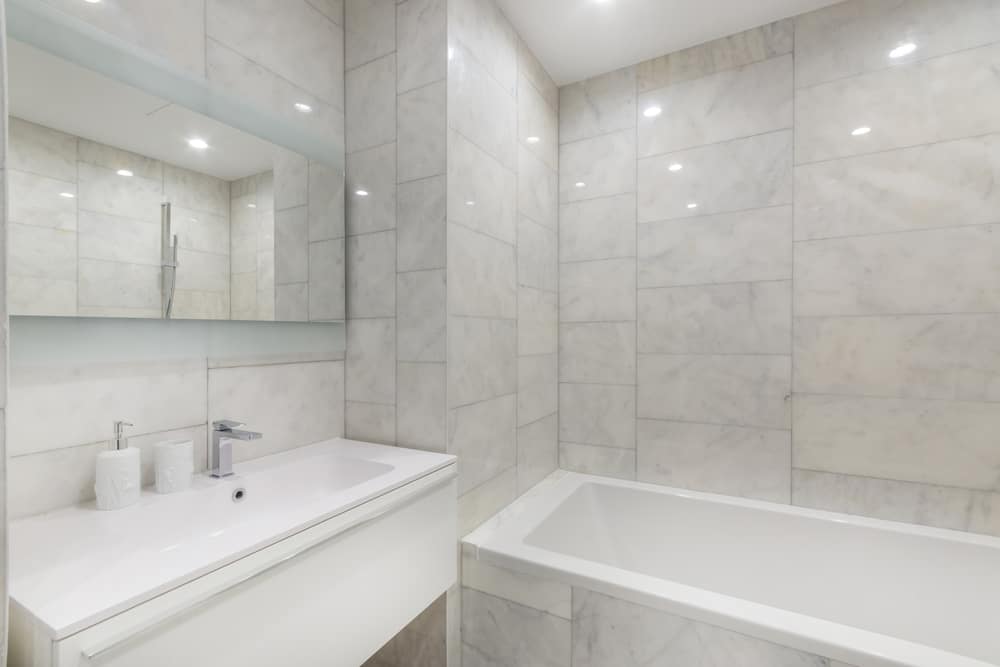
Most modern bathrooms get waterproofed during construction because the bathroom walls need to withstand constant moisture. The big question is, do bathroom walls need to be waterproofed? You get the general walls in the bathroom, and then you get the shower walls.
People often think that tiles alone will solve the damp/wet conditions in a bathroom, but most people fail to realize that tiles on their own are waterproof, but the grout that holds the tiles together is not. The water will penetrate the fine capillary pores of the grouting and create dampness behind the tiles.
It eventually creates the perfect breeding ground for things like black mold and mildew to settle beneath the tiles of a bathroom wall. In the end, it will cause the tiles to lift up and the supporting structure underneath (drywall, wooden beams, etc.) to get damaged. It can also be costly to get repaired.
Most contractors agree that the shower walls should be completely waterproofed as it comes into direct contact with water daily. The rest of the bathroom walls only need to have half the room up to 150mm waterproofed.
How To Tell If Your Bathroom Walls Are Waterproof
One of the first things you need to do is to find out if your bathroom walls are waterproof or if the waterproofing needs to be updated or not. You can tell by looking closer at a few things;
- Rotting floorboards in nooks and crannies
- Wet areas on the floor or the walls in rooms adjacent to the bathroom
- Damp carpets in rooms next to the bathroom
- If you have water damage to the ceiling of the bathroom or adjacent rooms
- The presence of moisture-loving pests like silverfish and cockroaches
If you see a few or more of these issues in and around your bathroom, you need to check if the bathroom has been waterproofed, and if it has, it might need to be updated.
Reasons Why It’s Best To Waterproof Your Bathroom Walls
If you are battling to choose between a bathroom that is waterproof and a bathroom that is not, here are a few reasons why it might be best to have your bathroom waterproofed.
It Stops Leaks
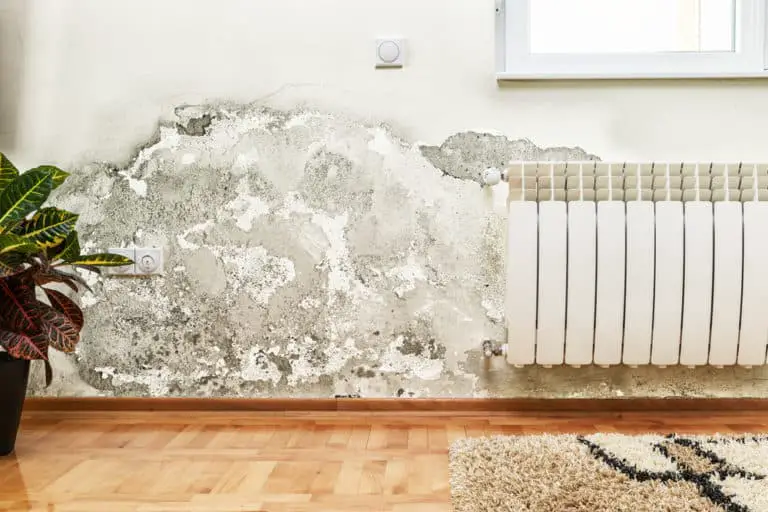
One of the worst things that one can wake up to is a wet room or wet wall where the paint is peeling. Many times the reason for this has been water leaks in the bathroom walls. Just like anything else, water is subject to gravity and will eventually seep out of any nook and cranny it can.
So, if you have a leak in the shower walls or the rest of the bathroom walls, a steamy shower may result in a messy and moldy wall. One way to fix this is by waterproofing the walls in your bathroom. The water will roll down the wall and land on the floor (which is also waterproof, hopefully).
Prevents Damp And Mold
You can easily see what is going on on the surface of a bathroom wall; you aren’t able to see what is going on behind the tiles. If you are renovating your bathroom, you need to take out a few test tiles to see the state of the wall underneath. When you are using the bath or shower, the steam will build and cling to the walls.
This creates condensation that then goes behind the tiles and may lead to mold and compromise the wall’s structural integrity. If you find that the drywall, plaster, or brick is wet/damp and moldy, you need to add a moisture barrier.
You Get Better Style Choices
You will be able to get more designer choices for your bathroom if you use waterproof boarding to build a stud wall. By using this technique, you can do away with the typical shower tray and easily create a wet room for a unique open-plan bathroom. You can also add different design elements, like a wall-hung cistern or basin.
Adds Value To Your Home
Waterproofing your bathroom is one way to increase the value of your home. It shows potential homeowners that thought and care went into ensuring that the substructure of the bathroom doesn’t get wet, which would eventually lead to damage like rot and mold behind the tiles in the bathroom walls.
What Type Of Waterproofing Do You Get?
When you want to add a waterproofing membrane to your home, are there different kinds? There are, in fact, three common types of waterproofing that you can choose from. Here are the three types:
The Waterproofing Membrane Or Sheet
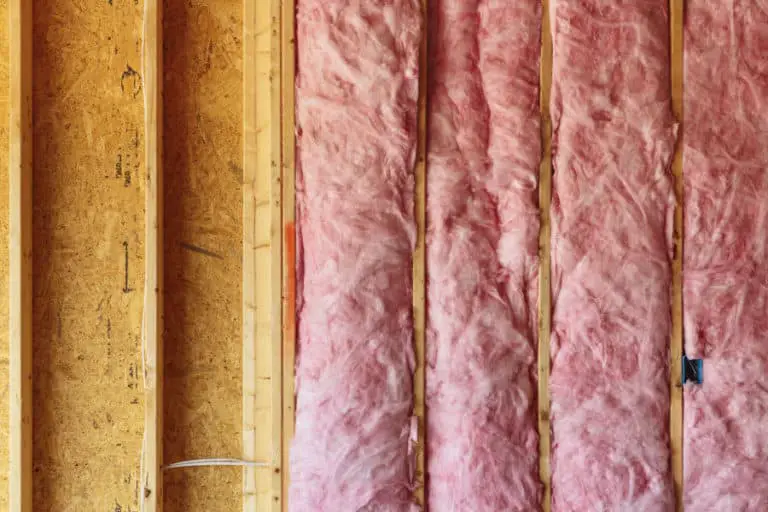
Waterproof or sheet membranes are made from a blend of plastics that usually come with peel and stick technology. The peel and stick backing helps them adhere to the bathroom and shower walls. Remember, these sheets and all other waterproofing has to go underneath the tiles and paint.
When you are renovating your bathroom, you can easily add these sheets to the back of your tiles (some shower tiles have them on the back already). You will have a waterproof barrier that protects the bathroom walls and tiles from any moisture that would otherwise cling.
Waterproof Foam Boards
Waterproof foam boards are a quick and easy way to waterproof the walls of your bathroom and shower. They are made from extruded polystyrene foam and are usually used as a backing for wall and shower wall tiles in a bathroom. They offer stability and structural integrity and act as a waterproof membrane. One of the most popular foamboards to use is Kerdi Board.
Waterproof Sprays And Paints
Waterproof paints and sprays or liquid membranes are applied, usually applied using a paint roller, but some contractors spray the paint on using a spray gun to get a more even coating. It becomes elastomeric when it dries down, helping the paint remain flexible. It is the easiest waterproofing method that you can tackle as a DIY project.
Keep in mind that only the waterproof membrane that you spray or paint should be a DIY project; a qualified contractor should install the foam boards and sheet membranes as all counties have some building codes that you need to adhere to.
To find out if your home falls under certain county regulations and building codes that require qualified contractors to install waterproofing in your bathroom, you can contact your local governing body.
How Many Coats Of The Waterproof Paint To Use
When you waterproof your own bathroom walls, you need to use waterproof paint behind the tiles, so how many coats are enough to create the waterproof barrier that will protect the walls behind the tiles from getting wet?
Most people apply two coats of paint, but you can apply three thin coats to ensure you don’t miss a spot. The trick is to leave the bathroom and shower walls to dry down for at least 24-hours after each coat so the paint won’t make a mess and it adheres to the wall properly.
After the last coat is applied, you need to wait for another 24-hours before you can use the shower or add the tile. If you do this correctly, the waterproof paint should last at least 10 years before it will need to be touched up.
Tips When You Decide To Waterproof Your Bathroom
When you are building a new bathroom or renovating an existing bathroom, there are a few tips that will make the job less daunting and a few that are helpful for after you have waterproofed the walls.
Choose Inorganic Building Materials
When choosing bathroom tiles and backboards, you should try to get inorganic material; for example, use PVC backboards and ceramic tiles instead of wood. They resist water and mold much better than organic materials like wood.
Put A High Capacity Exhaust Fan In The Bathroom
Installing a quality exhaust fan in your bathroom will help expel moisture-laden air from the bathroom before too much of it can cling to your bathroom walls.
According to building codes, your exhaust fan must remove a minimum of 50 cubic feet per minute (CFM) and 20 cubic feet per minute continuously. Some fans come standard with an infrared light bulb that will help dry out the moisture in the air, so you don’t have too much moisture floating around.
Seal Of Any Cracks And Gaps
When you are renovating your bathroom, use silicone caulk to fill in any cracks or holes that will allow moisture to get behind the tiles. You need to seal off any places where faucets or the wall tiles reach the floor as gravity pulls any condensation that doesn’t go behind the tiles to the ground.
The great thing about caulk is that you get a few different colors that allow you to blend it with the color scheme of your bathroom. The caulk will create a waterproof barrier between the holes, cracks, or seams that can last years if properly applied and maintained.
Roughing The Wall Surface
Before you apply the waterproof paint, you can rough the surface of the wall or wood using fine-grit sanding paper. Rouging or keying the surface of the bathroom walls will allow the waterproof paint to adhere to the wall surface better. It won’t slip or drip off before it dries.
Keep in mind this is a technique that is best to use on wooden or plastered walls because it will damage walls that are made from plasterboard/drywall.
Using Waterproof Grouting
As we all know, grouting can be the bane of any homeowner’s existence when it comes to damp walls and floors underneath tiles. Luckily advances in the last few years have given us a solution to help aid in waterproofing our bathroom walls and shower walls.
Waterproof grouting is the best grouting you can use for bathrooms. If you don’t want to use waterproof grouting or you can’t find any that you like, you can use regular grouting in a shade that matches your bathroom and add a sealant on top to seal the grouting and make the top layer waterproof.
There is a bit of maintenance involved when you choose to use regular grouting and seal it because the sealant will wear off in about two years, and you will need to reapply to get the watertight seal back to full strength.
So mixing grouting from the beginning will work best. Grouting can be tricky if you add too much, so before you tackle the grouting in your bathroom, read the mixing instructions carefully to get the best consistency or buy the pre-mixed grouting. That way, you will always have the best consistency.
Conclusion
While waterproofing the entire bathroom is not needed, it would be best to have the shower walls entirely waterproofed and the rest of the bathroom walls waterproofed to at least 150mm. When choosing a waterproofing method, you need to remember that only the waterproof spray or paint is suited for a DIY project.
Professional contractors need to install the foam boards or sheet membrane as there are building codes in your county that you need to adhere to. If you follow the instructions correctly when applying the waterproof paint or spray, the waterproofing should last at least ten years before you will need to touch it up.

