Convert A Shower Drain To A Sink: Here’s How
Sometimes it is necessary to make substantial changes to an old house to make it liveable and more suited for today’s modern environment. There is no need to live with an old feature that you do not use and which, when removed, creates more useable and valuable space in the home.
It is possible to replace an old shower with a sink, and you will most likely be able to use the existing plumbing, including the shower drain, for the sink. The procedure will involve removing the shower fitting and exposing the existing plumbing, after which you can install the new sink.
Before starting work on the bathroom, ensure that the water supply to the faucets and the toilet is switched off. Likewise, before installing the new sink, take the time to remove any tiles or other decorations on the wall and floor you intend to replace.
The Best Way To Convert A Shower Drain To A Sink
Try not to be too destructive when you remove the shower itself, particularly the drains and pressure pipes used in its installation.
You will need to remove the shower frame and the pan at the bottom.
For any grinding required, it is recommended that you use a small grinder with a diamond-tipped blade (Amazon ).
Step One – Find The Inlet Pipes
Note the position of the shower head and the taps. Hopefully, these are in line and on the wall, you intend to install the basin.
Try to ascertain where the water inlet pipes are within the wall. The best way to achieve this is to use a pipe detector (amazon).
Once you have found the pipes, draw a line on the wall to show the route of the cold water inlet (on the right), the hot water supply (on the left), and the pipe to the shower head outlet.
If it is a brick and plaster wall, carefully grind a channel through on either side of each pipe and chisel the remaining debris away until the lines are clear.
These pipes will be fairly close to the surface, so you do not have to excavate too far to expose them.
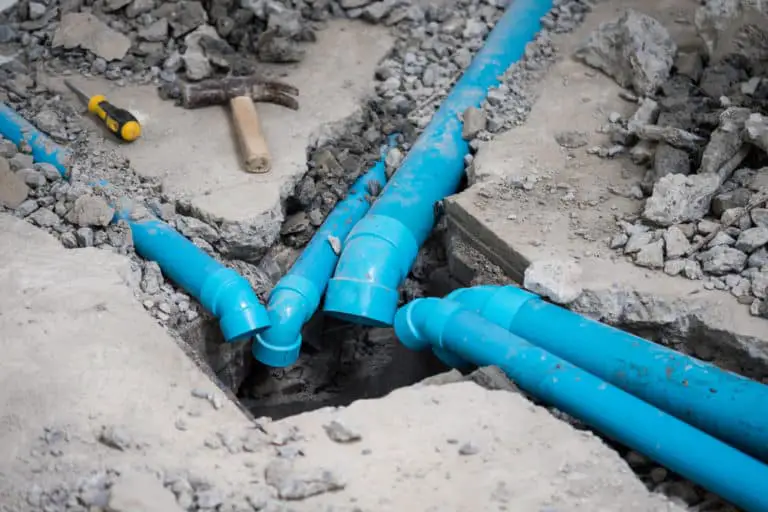
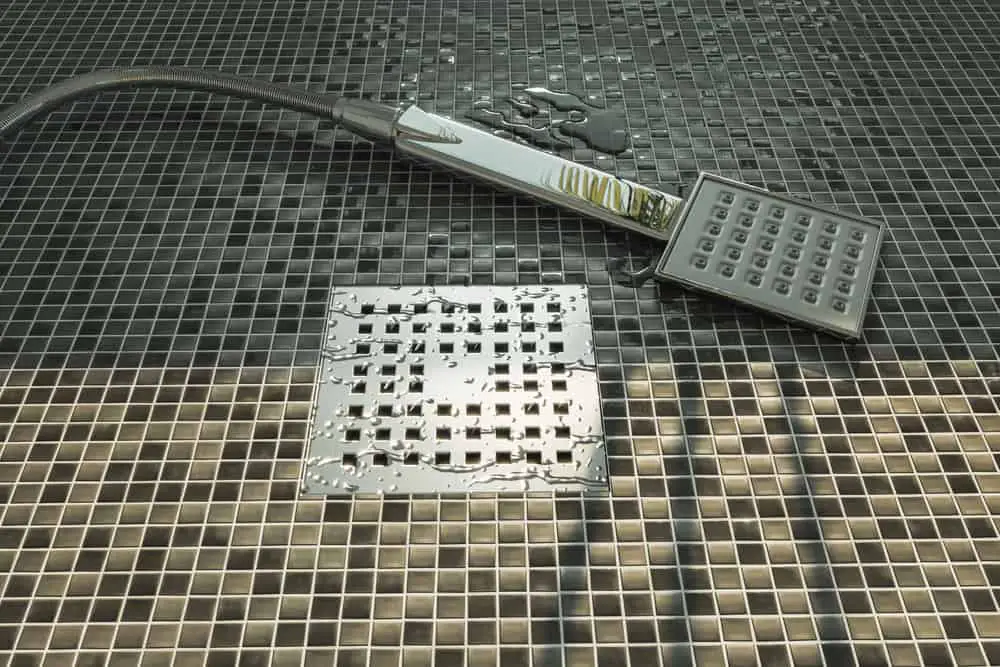
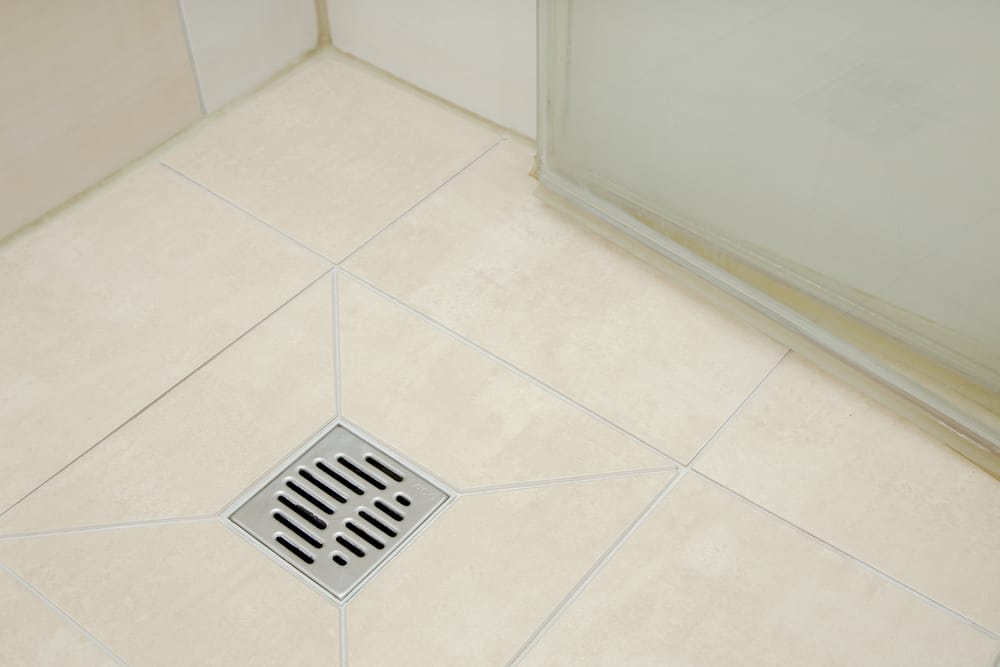
Step Two – Find The Drainpipe
If you cannot see the drainpipe once the pan is removed, you need to dig down a little deeper, possibly by breaking through the cement screed, until there is enough space to work with.
Please exercise caution while digging down because it may involve using heavy equipment like a grinder and a pickaxe.
Be careful about damaging any other pipes installed under the bathroom floor. These could include the water pressure pipes which feed in the faucets, underfloor water heating pipes, and (although unlikely) possible electrical conduits.
Once you have full access to the drainage system, you need to remove the P Trap and cut the drainpipe at the wall.
Step 3 – Install The New Drainpipe
There may be small differences in drainpipe diameter; however, this should work in your favor.
The shower drain may have a 2-inch diameter pipe, whereas the code for most areas only requires a 1.5-inch diameter pipe for a sink drain.
If the existing drainpipe has a bigger diameter, use an adaptor to bring it down to 1.5 inches.
To get the best finish, expose the drainpipe within the wall and spend some time grinding a channel up to 18 inches off the floor. The channel must be wide enough for the 1.5inch diameter pipe to rest in.
If you cannot see where the vent pipes are, you will need to continue the channel to a height above the bathroom ceiling.
Expect to install a drain outlet 18 inches off the floor.
Cut the pipe to an 18-inch length and make sure that you clean any burs which may be left on the cut edge. It is very important because hair and other fine particles can get caught in the burs inside the joint, and if the outside is not clean, it may prevent water sealed joint.
When joining any PVC pipes, first prime the inside of the pipe and the edge of the joint with PVC primer (amazon offer).
Attach a T-Joint at the top of the new outlet pipe, so the T-piece points horizontally out of the wall.
Before gluing, dry-fit the pipes to make the connection perfectly square.
Attach a small piece of spare pipe to the T-piece of the outlet fitting. Use a square held against the wall and adjust the dry fit pipe until it is pointing exactly 900, on all plains, from the wall.
When testing the fitting and finally installing it, ensure that the arrows that point to the flow direction point away from the sink’s eventual position and down towards the main drain.
Use a soft pencil (or sharply) and draw a small straight line across the joins. When you glue the pipes, all you need to do is line up the marks on the T-piece and have the correct angles.
Attach a right angle join to the exposed shower drainpipe to point vertically up the channel you ground.
Connect, and glue the bottom of the new outlet pipe to the cut-off shower drainpipe.
Apply PVC glue to the inside of the bottom opening of the T-Piece and the outside edge.
Join the pipes at right angles away from where you drew the line and twist the t-piece until the lines match.
Hold the pipes together for a minute until the seal has started to set.
Attach the vent pipe to the top of the T-piece. It will eventually go up through the roof of the house. Ideally, you will join the vent pipe to the toilet and bathtub vent.
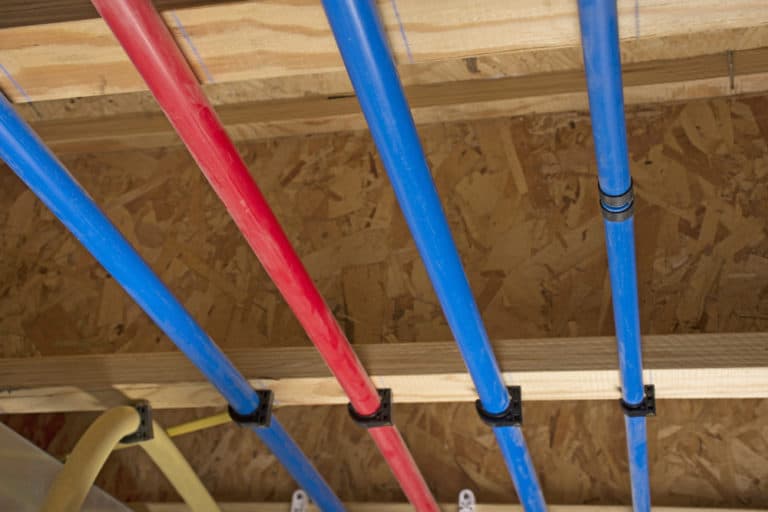
Step 4 – Install The Water Inlet Pipes
The water inlet pipes are ½ inch water lines and should be positioned 4 inches on either side of the drain hole.
The pipe would have been installed to a height connected to the shower taps or mixer units. You will have to cut these lower so that the outlets are 18 inches off the ground.
Ideally, these pipes should be positioned 4 inches on either side of the drainpipe. If they are too close together, connect an L-piece joint onto each pipe to point sideways away from the drain.
Connect an L-joint onto the top of each pipe to point at right angles horizontally from the wall. The inlet pipes should extend to be installed three inches off the wall.
Connect the hot water feeder pipe to the flexible attachments which the sink suppliers provided.
Step 5 – Installing The Sink
Ensure you carefully follow the manufacturer’s instructions so that the sink is tightly fitted and there is no movement.
From underneath the sink, attach the drainpipe.
Attach each inlet pipe, remembering that the hot water pipe is on the left and the cold water pipe is on the right.
Turn in the water to the bathroom and test the installation for leaks.
All that is left is to repair the floor and walls and choose the amazing new titles that will make it the showpiece you hope for.
Conclusion
It is not a hard exercise to replace an old shower with a sink, and you will be able to utilize the existing plumbing to enable the installation. You must exercise safe use of potentially dangerous equipment (grinder etc.) and ensure the final fitment is done according to the building code in your area.