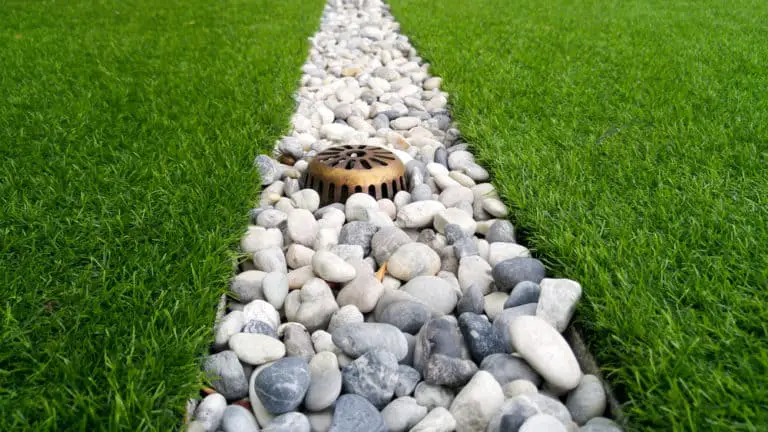
Best Base For Pavers
Pavements is an essential part of every home’s landscape design. An issue with anything built in the outdoors is weathering and maintenance. The base of your pavement helps it function well and protect it. The question now is, what is the best base for pavers?
The best base for your paver will mainly depend on the type of pavement you want and your immediate environment’s conditions. Generally, the purpose of the base is to prevent weathering and provide support, both of which prolong the longevity of your pavement.
The base for pavements often takes the longest to set upright. The reason as to why the base is so important is because of its functions which are to provide adequate drainage for your pavements and help it distribute loads to the ground.
Paver Base: An Overview
Paver base is there to help provide a good footing for your pavement. A home’s foundation needs to be set on flattened ground, and the same rings true for pavements to prevent any cracks from forming. Paver bases are often quite thick, compared to the pavements on them, and are made out of hard materials that are naturally weather-resistant.
A paver base needs to be thick because soil tends to be unstable and shifts around. Different soil types need to be taken into account as some move more than others or tend to grow plants.
Lastly, a paver base is often constructed in a way that disperses rainwater from your pavements to the surrounding soil to prevent it from damaging your pavement. Any material continuously exposed to water will degrade over time, so we must have a way to redirect it away from our pavements.
If you experience winter or changing seasons in your area, a paver base helps prevent your pavement from warping due to the changes in the ground caused by frost. Having a solid base reinforces your pavements by that much.
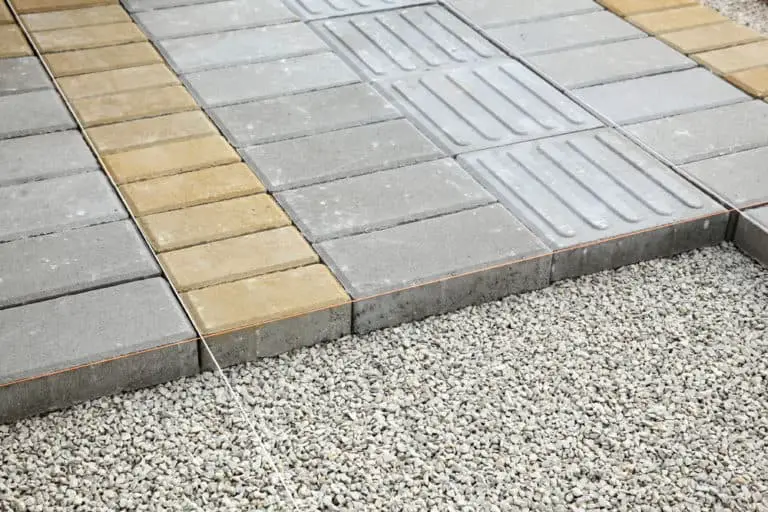
Types Of Paver Base
There are different types of bases, each with pros and cons. The main way to decide which one to go with should be based on the type of pavement you want.
More often than not, we need to adjust the base to this so that the pavement you choose will be compatible with the soil. You can opt to have different types of paver base used simultaneously, depending on the immediate environmental conditions and as needed.
| Paver Base | |
| Types of Paver base | Description |
| Stone Dust | Stone dust is great if you need some extra drainage for your pavement. The only issue is that it can’t be used as a paver base by itself since its particles are too loose to hold up together. |
| Recycled Concrete Aggregate | Unused aggregate can be repurposed as a paver base. Aggregate consists of rocks of different sizes, and they can hold up well by themselves. |
| Concrete Slab | Concrete slab is the most durable paver base, albeit it will be the most expensive. |
| Crushed Stone | A popular paver base, gravel works well because it provides good drainage and support while weatherproof. |
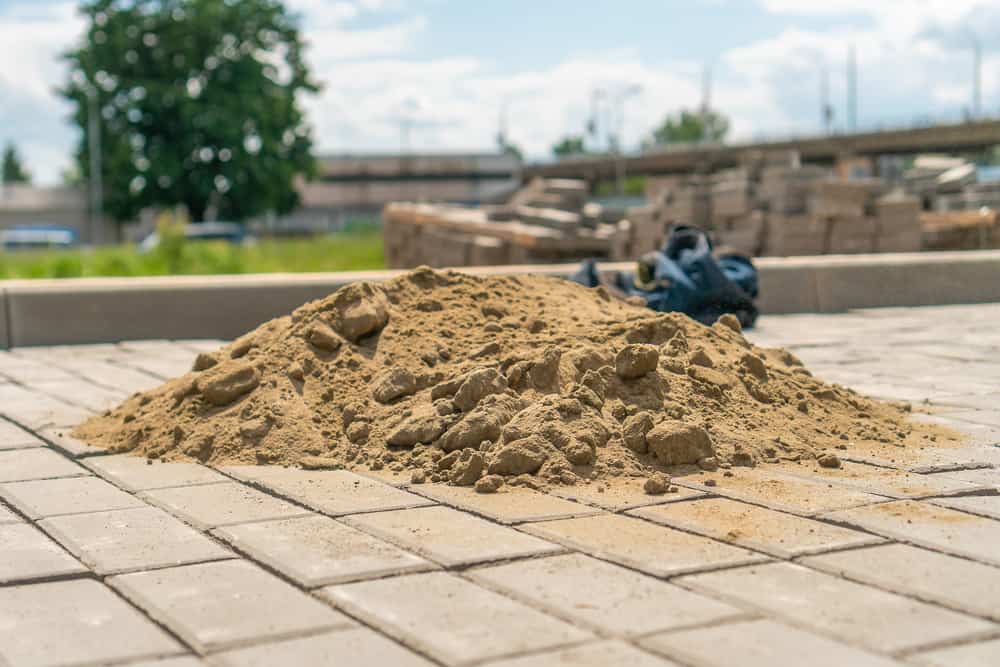
| Sand | Sand is often used to act as a cushion for your pavement. |
| Compacted Soil | Compacting the soil is almost standard with all paving done. It’s important to keep the ground level to ensure even construction. |
How much does paver base cost?
Price is probably the biggest consideration for most homeowners. We already established that the best paver base depends on how it works with your pavement and ground, but it’s also important to consider what’s the best in terms of value.
Price quotations for these materials are based on sq. ft rather than weight. To properly compute how much this project would cost, you’d need a plan already prepared.
For this type of project, you’ll need to hire some people for it depending on the scale of the project.
On average, having a pavement built from scratch costs around $10 per sq ft. However, this quotation is based on your average pavement that is only built to get the job done. The main expense for this project is the paver itself, as this is where design, brands, textures, etc., all come into play.
Raw materials, which is your paver base, can’t be quoted in an article as the costs of these materials will depend on their availability in your area. Consultation with a contractor is often the best way to go. They can provide you with the logistics(materials and workforce), the proper construction(site drainage and weed protection), and even working drawings if you plan to renovate.
It might appear like there’s too much going on just for pavement, but with any construction project, you want to get the most value out of it in the long run. Something that is well-design, well-built, and made from quality material will be worth the cost in terms of benefits compared to a pavement that’s just slapped onto your site.
How is the paver base installed?
An important aspect of any home renovation is the working time and the labour needed. The installation time and type often dictate how much a contractor will charge for your project, aside from material costs. To understand the best paver base for you, it’s important to know how they will be used.
Here’s a brief overview of how the pavement is installed. We’ll be going from start to finish so that you know how all the different parts of a pavement end up getting together.
- Preparation
Before anything else, we must first layout our pavement onto the ground with markings to establish its shape and size. The ground is prepared to make it suitable to be built on.
The contractor will excavate to the right depth(often till the subsoil) and begin flattening out the ground to ensure that the pavement sets and remains level. Any drainage needed is already set up by this step. A weed barrier is also set up during this step to prevent any undergrowth that could potentially permeate your pavers.
- Testing and paver base installation
The contractor will quickly assess the ground, and once it’s good, the paver base can now be placed. Paver base is often installed in terms of its depth, meaning that a contractor will aim to have a certain “thickness” of the material spread throughout the excavation made earlier.
Once that’s filled out, the contractor then rechecks and makes sure that everything is once again level and that the paver base is well distributed.
- Binding
It’s important to ensure that your paver base doesn’t shift around, so a binder is applied. Binding is often used at inroads to prevent asphalt from shifting together and increase the material’s weatherproof rating.
The same goes for paver bases, and it’s supposed to be applied before the pavement itself to ensure that your base won’t degrade over time.
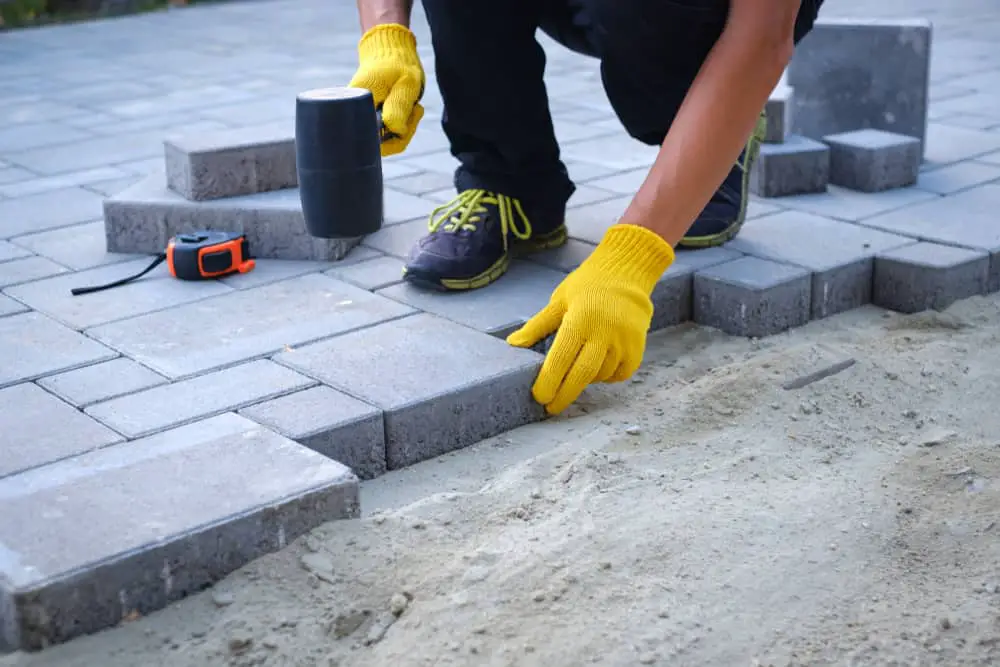
- Installation of pavement
Once the binder has been set, the contractor can begin laying out your pavement. Depending on the type of pavement you want(especially for tiled pavers), you might need to have a paver panel installed underneath to ensure that they do not sink when stepped on.
The labour and length of this step will depend on the type of pavement style you’re going for (solid, tiled, etc.).
- Finishing
Once the pavement has been set and is final, the last part of construction involves connecting your pavement to your home or sidewalk. A butt joint is formed to cover up any gaps and “attach” your pavement to other parts of your home. You can add other finishes at this step.
Some of these steps might not be needed depending on what you need from your pavement, as construction depends on the use you want out of it. If you still have some funds to spare, it doesn’t hurt to have plants or other landscape elements installed along your pavement for a complete look(compared to having just a pavement).
How to design your pavers
So far into the article, we’ve been talking about the technical details of pavers and paver base. Another aspect that also plays a crucial role in both functionality and aesthetics is how your paver will be designed. The design of your paver determines how different elements and factors interact with it.
Here’s a framework to help you get a better idea of how you’d want your pavement to turn out, and having this prepared will help you work with your contractor.
- Use
Establishing the use of your pavement is the first and most important aspect when coming up with a design. Anything built should have a purpose backing up why it’s built That way. Usage of pavement can be assigned such as
- Use for your car’s garage
- For people only,
- For creating a path that doesn’t get slippery during winter
- For your backyard, etc.
It’s not uncommon to use your pavement for multiple reasons. The challenge in coming up with the best pavement for you will be finding a way to make your pavement work for all different contexts.
- Shape
Shape is important as it determines how people will move. Uniform shapes are often the most efficient for moving things and are especially helpful if you have elderly or PWD household members.
Curved shapes are better if you want a bit more privacy, as it creates an axis that you can cover up with other landscaping elements( Ex. trees, shrubs, fences, etc.).
- Location
Where you’ll put your paver base will also determine how many other factors you need to consider. Keep in mind where your pavement will start, where your pavement will end, and where it’s going through your site.
Location determines your pavement’s immediate environment, so either your pavement stands alone or is surrounded by natural elements( Ex. grass, stones, trees, ponds, etc.). On the other hand, it could be surrounded by built elements (Ex. Your house, garage, other pavements, the street, shed, etc.)
For example, if you put your pavement near an exterior wall. You might mess up the site drainage and your house and cause groundwater to collect near your walls.
- Sizing
The width of your pavement and its length will determine how much material you will be using. As we mentioned earlier, the cost of materials for this type of project is often measured in square feet.
You also need to consider how much new material you’re introducing to your site. Every site has a micro-climate, the environmental conditions localised to your lot. Adding a larger pavement(around 4 ft+ wide) will change how some aspects of nature interact.
For example, adding a wide concrete pavement over the ground that was once grass will entail more heat gain from the sun.
- Finish
The finish is probably the most important aspect of your pavement. There are so many finishes for pavement but the general concept is that your pavement’s finish should be aesthetically pleasing while still retaining functionality.
For example, if you live in an area that experiences a lot of rain throughout the year; it would be smart to have pavement with a non-slip finish. If you experience a lot of snow in your area, you can opt to have a smoother finish so that shovelling is easier.
This framework is meant to help you better decide how you’d like your pavement to turn out. Homeowners should know what to say to a working professional to make everyone’s job easier and for a better output. It also helps to know the potential caveats of your paver’s design so that when anything happens, you already know why it’s happening and what to do to fix it.
Conclusion
The best paver base for your home will depend on the type of pavement you want and immediate environmental conditions. Generally, what we’re looking for is a paver base that will last longer and hold up well to ensure the longevity of your pavement.